Well, 319 hours, over 99 sessions and six months later, I finished putting on the finish, so that’s the guitar finished…!
There were a few steps to go through before I got to the end of the build.
The first of these was to glue the fingerboard on to the neck. This is a kind of critical task. It has to be perfectly square on, so a final check that the centre line marked on the surface is definitely in the centre is essential. Being even the smallest bit off centre causes problems further down the road. It’s trigonometry: half a degree squinty at the nut end of the fingerboard means the strings will be about 3mm (i.e. ‘miles’) off at the saddle. Hence the try-square, long ruler, magnifying glass and the digital calipers (a tool I use continually and couldn’t do without).
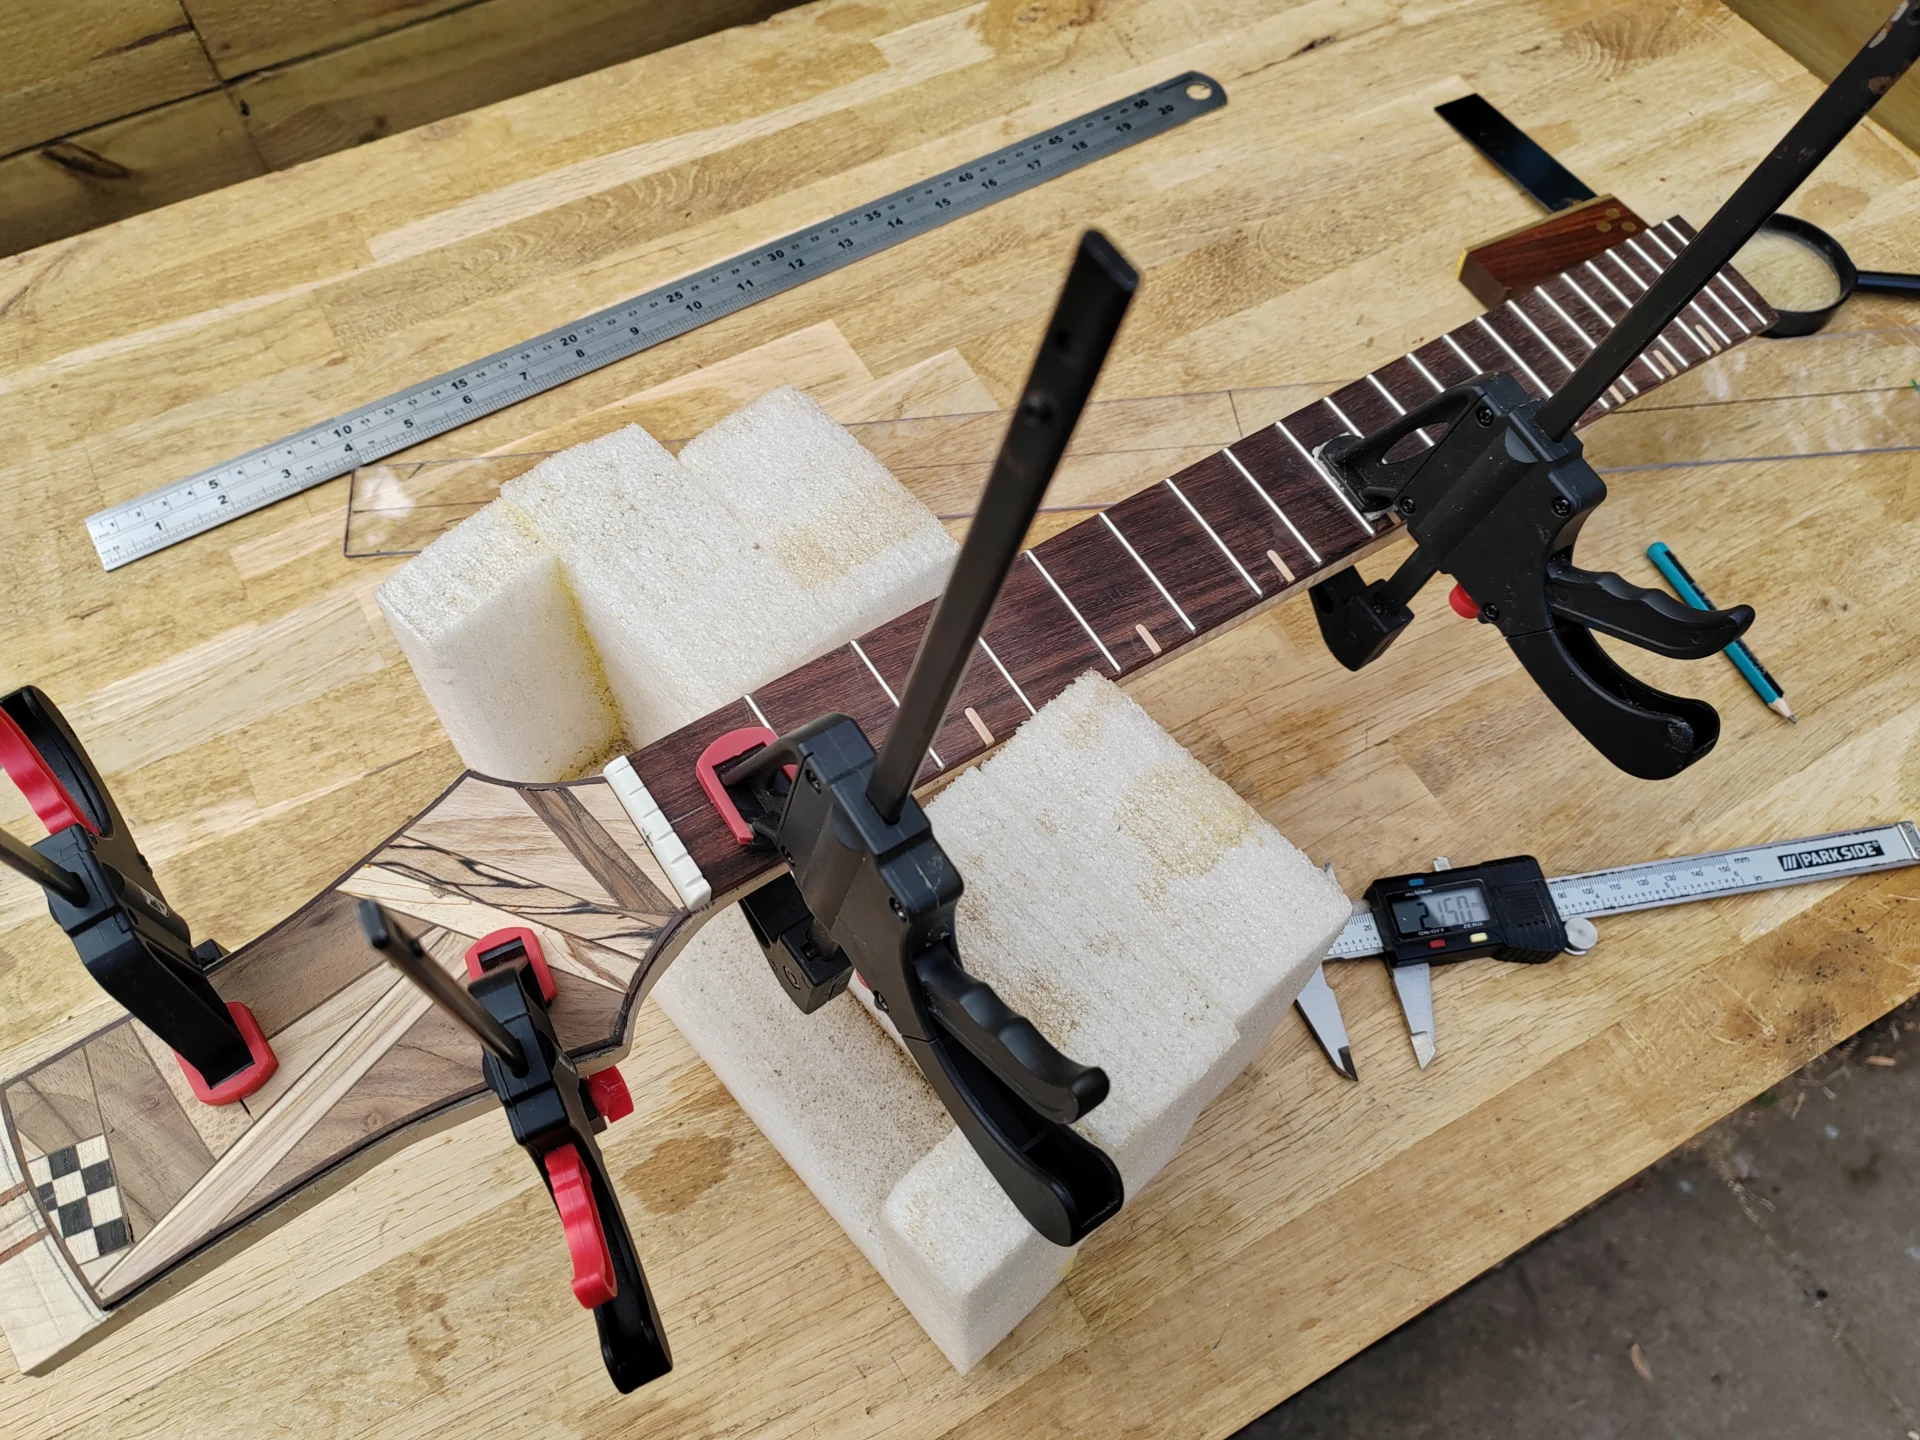
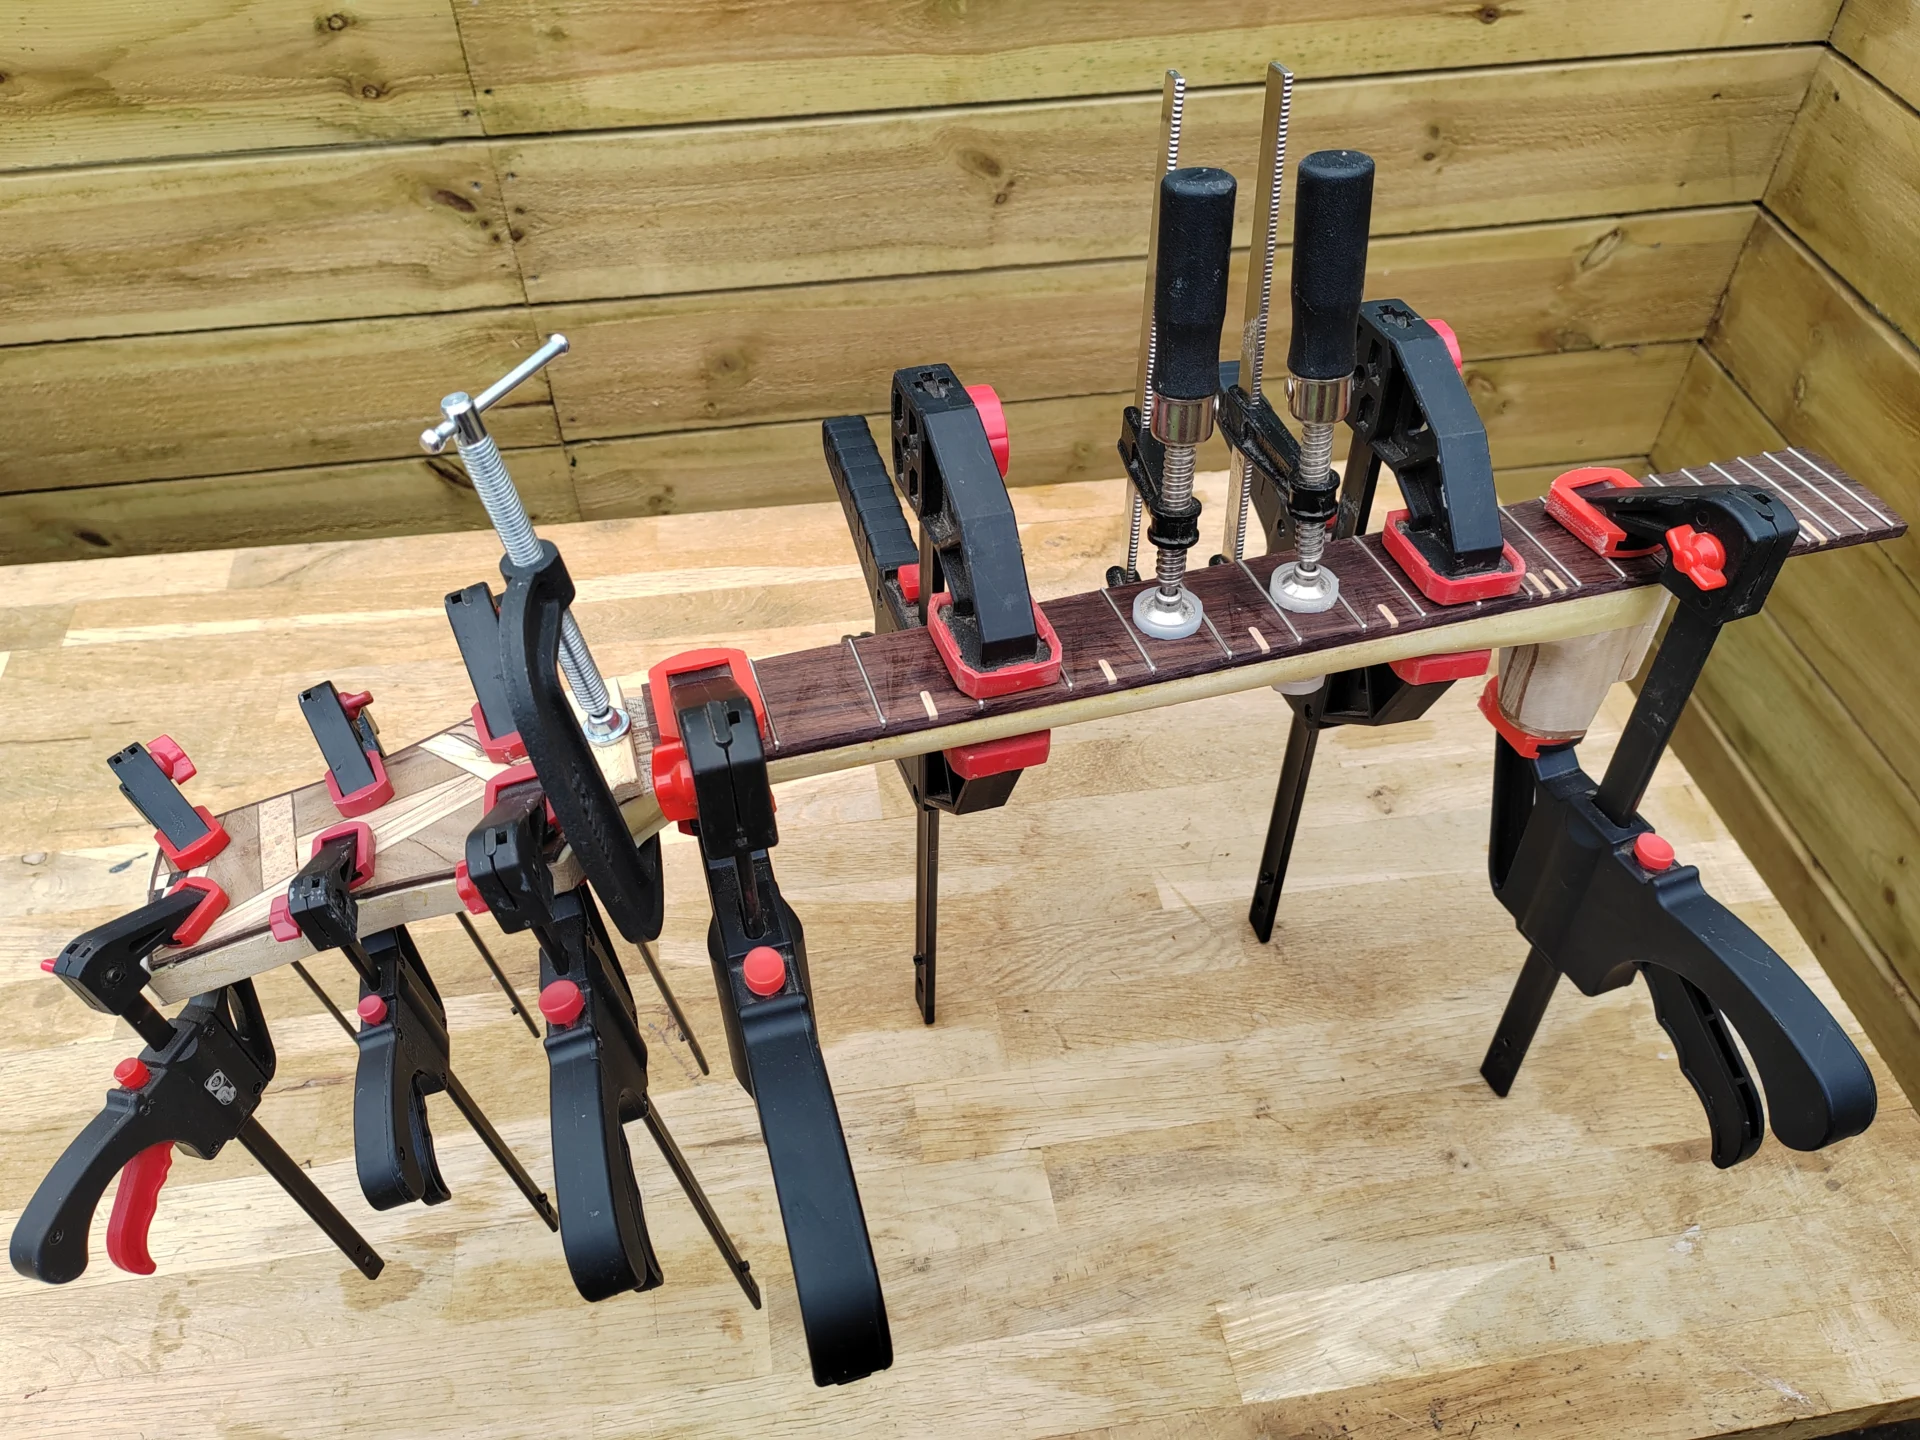
There’s quite a few different ways to clamp the fingerboard to the neck, yards of rubber band, cord, vacuum clamps… I’ve tried a few of them, but I’ve found just using a variety of clamps works best for me – principally because I can see what’s going on.
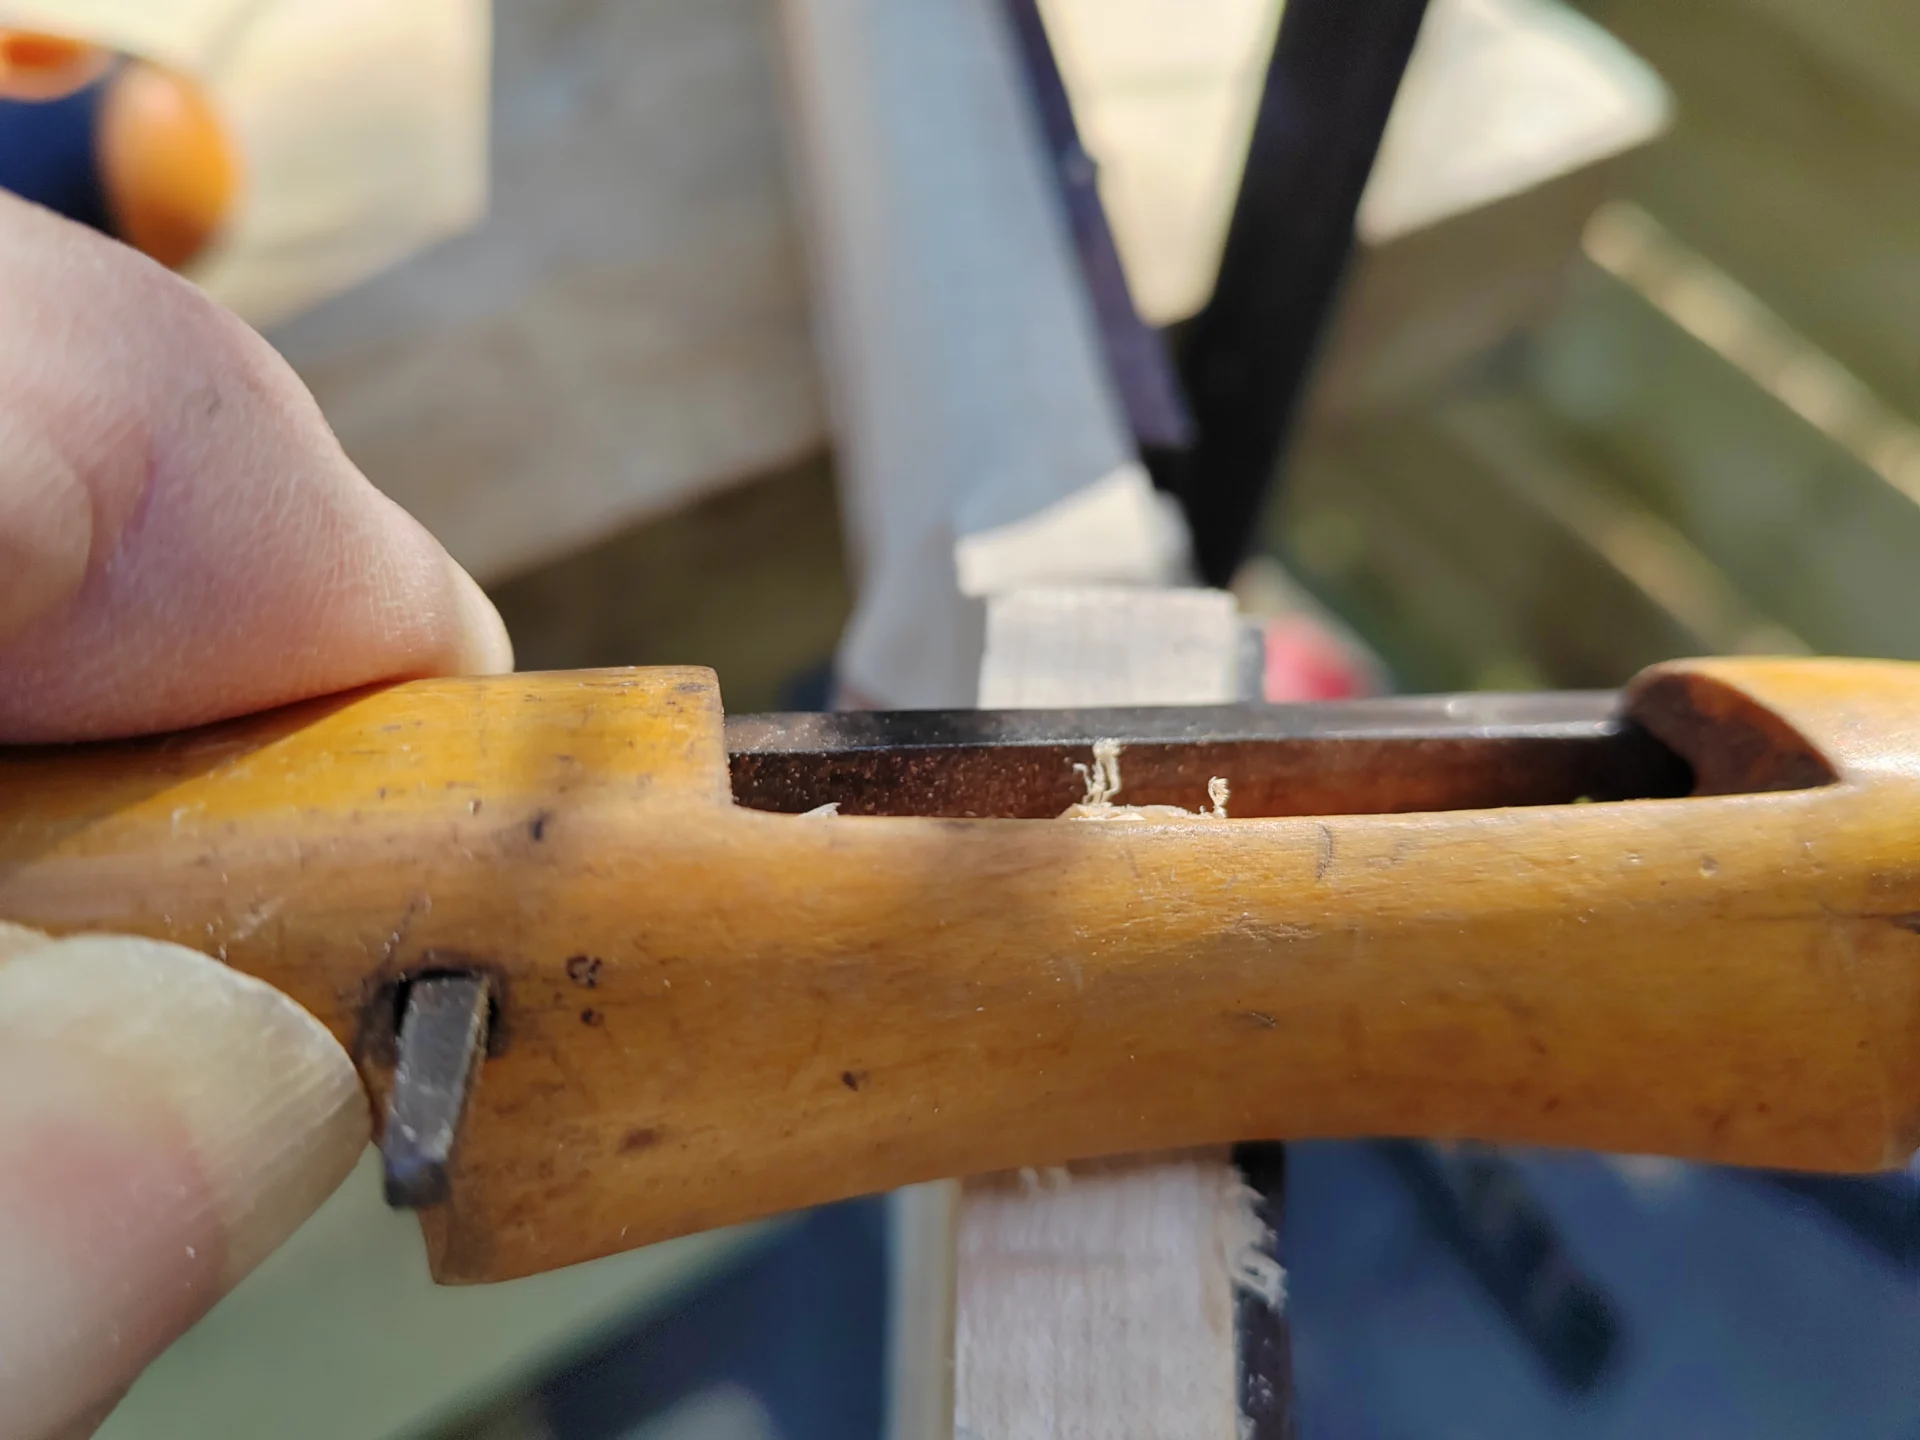
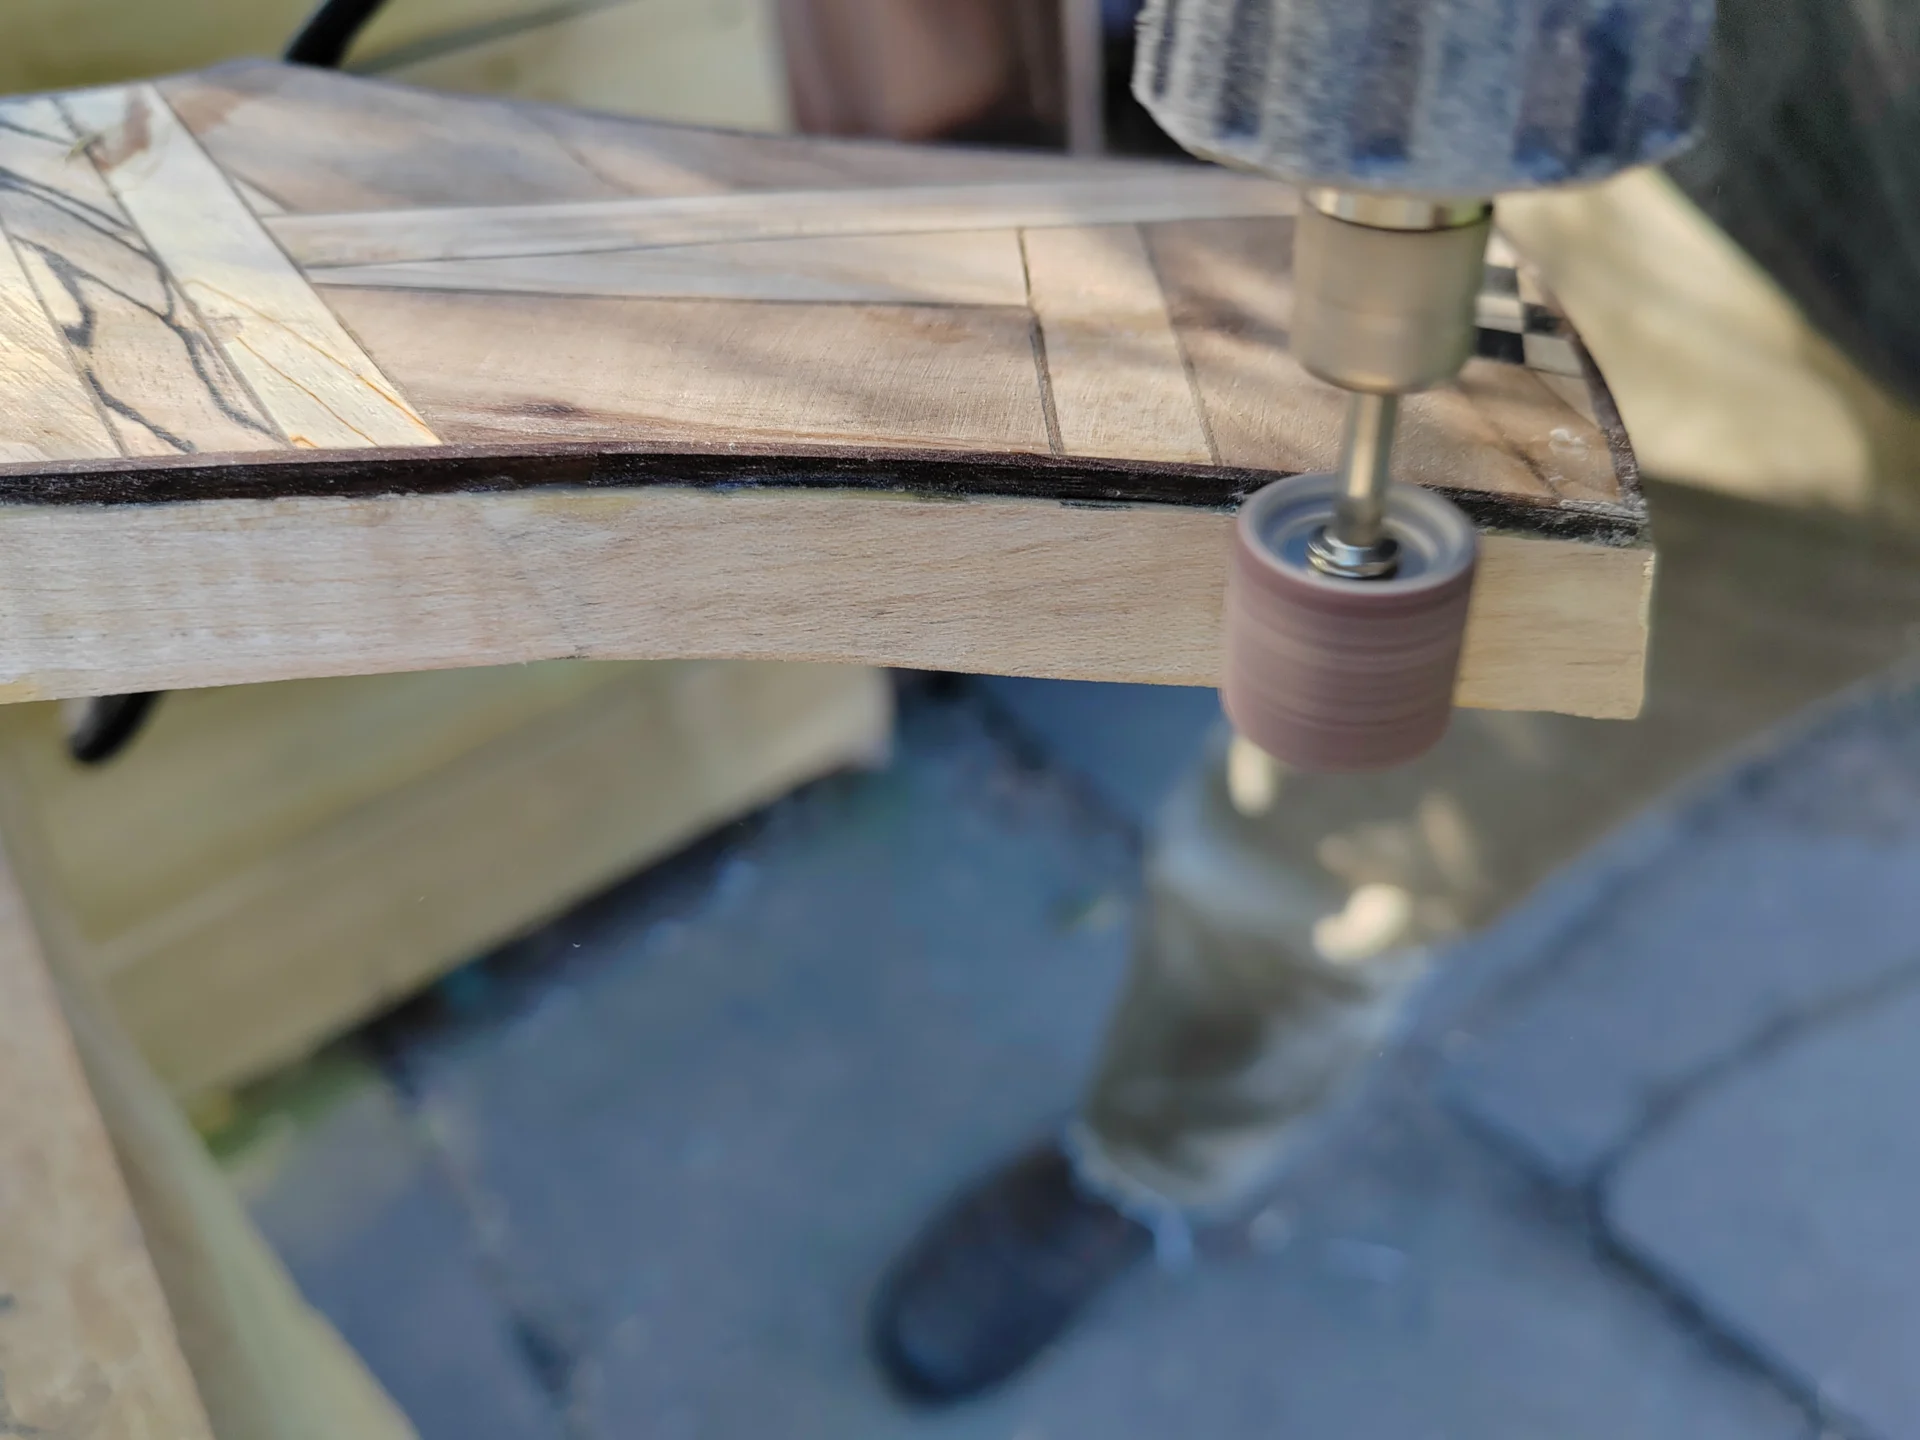
At this point the last of the tidying up can be done – removing any tiny excess wood to make sure everything is flush. A ‘dremel’ type of tool is good for this, but so is this very old, razor-sharp miniature spokeshave that I bought for a couple of quid in a secondhand shop…
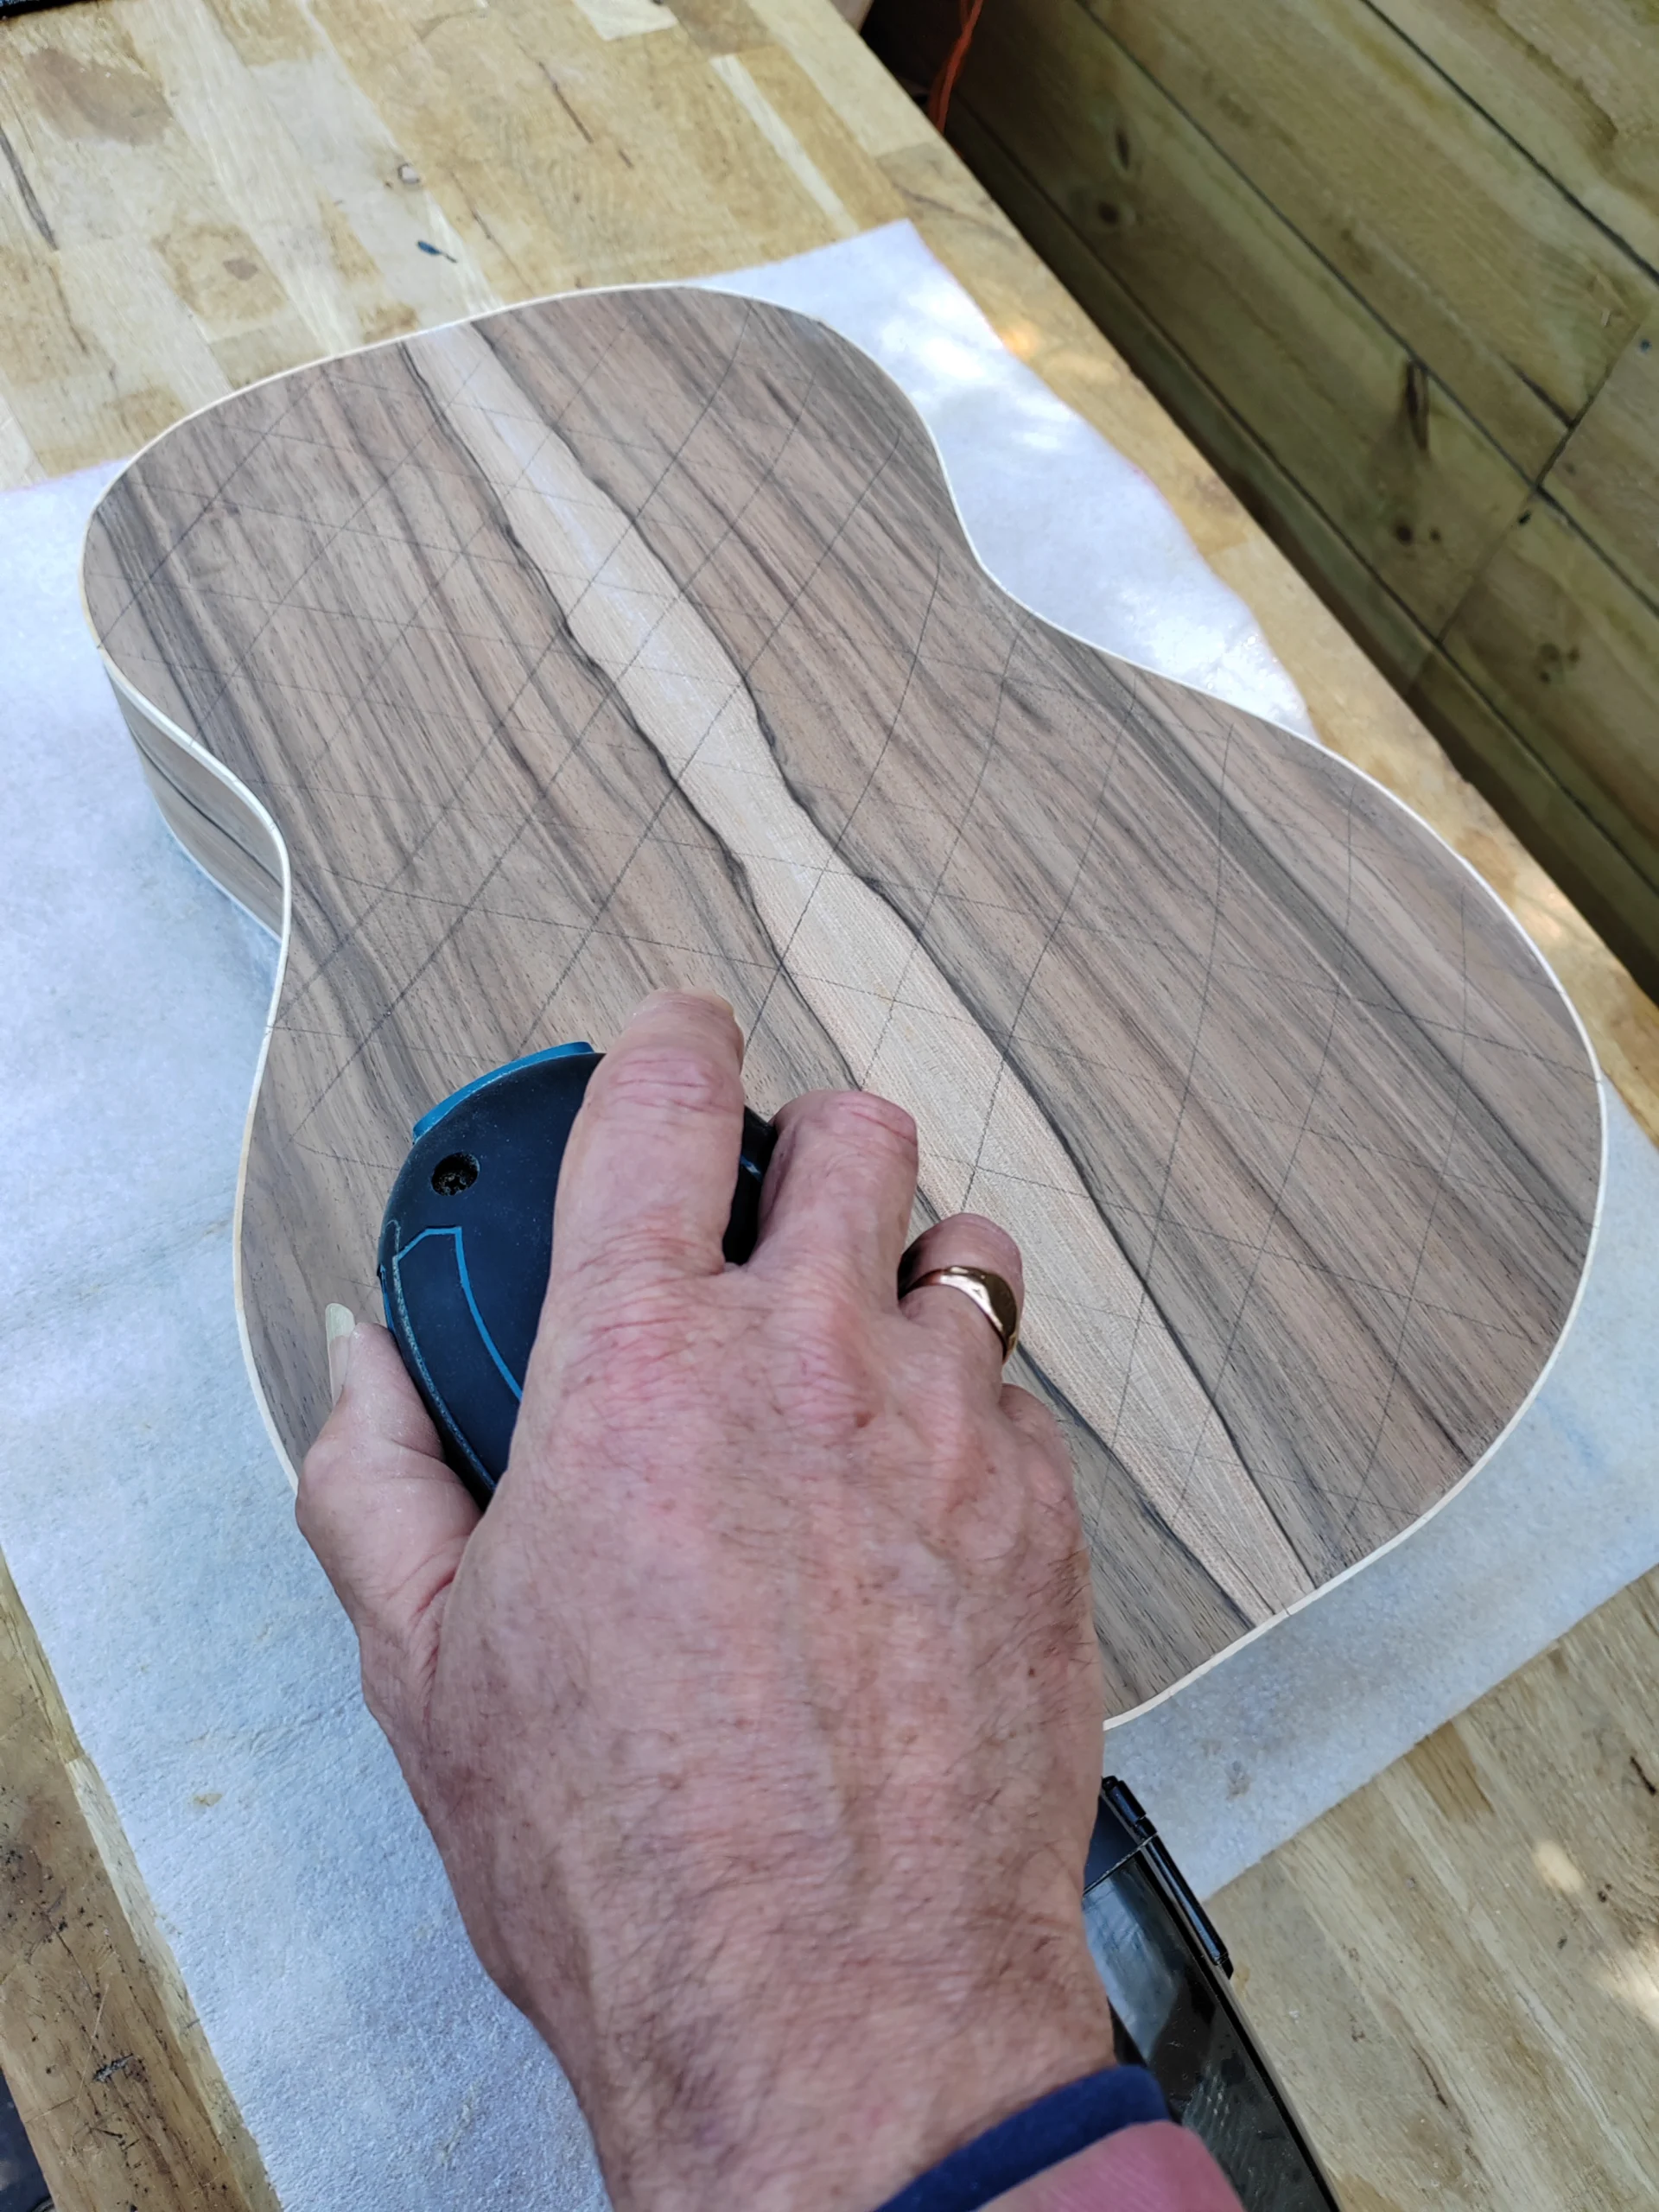
It was finally (sort of) time to give all the surfaces a sand over before fitting the neck to the body. This was done with a rotary sander and 800 grit sandpaper (that’s very fine, for a lot of woodwork 320 grit would be considered ‘fine’). This is not about removing material, just smoothing the surface, though every pass of the sander is undoubtedly thinning it to some extent. The crisscross pencil lines help to make sure you’re not missing a bit.

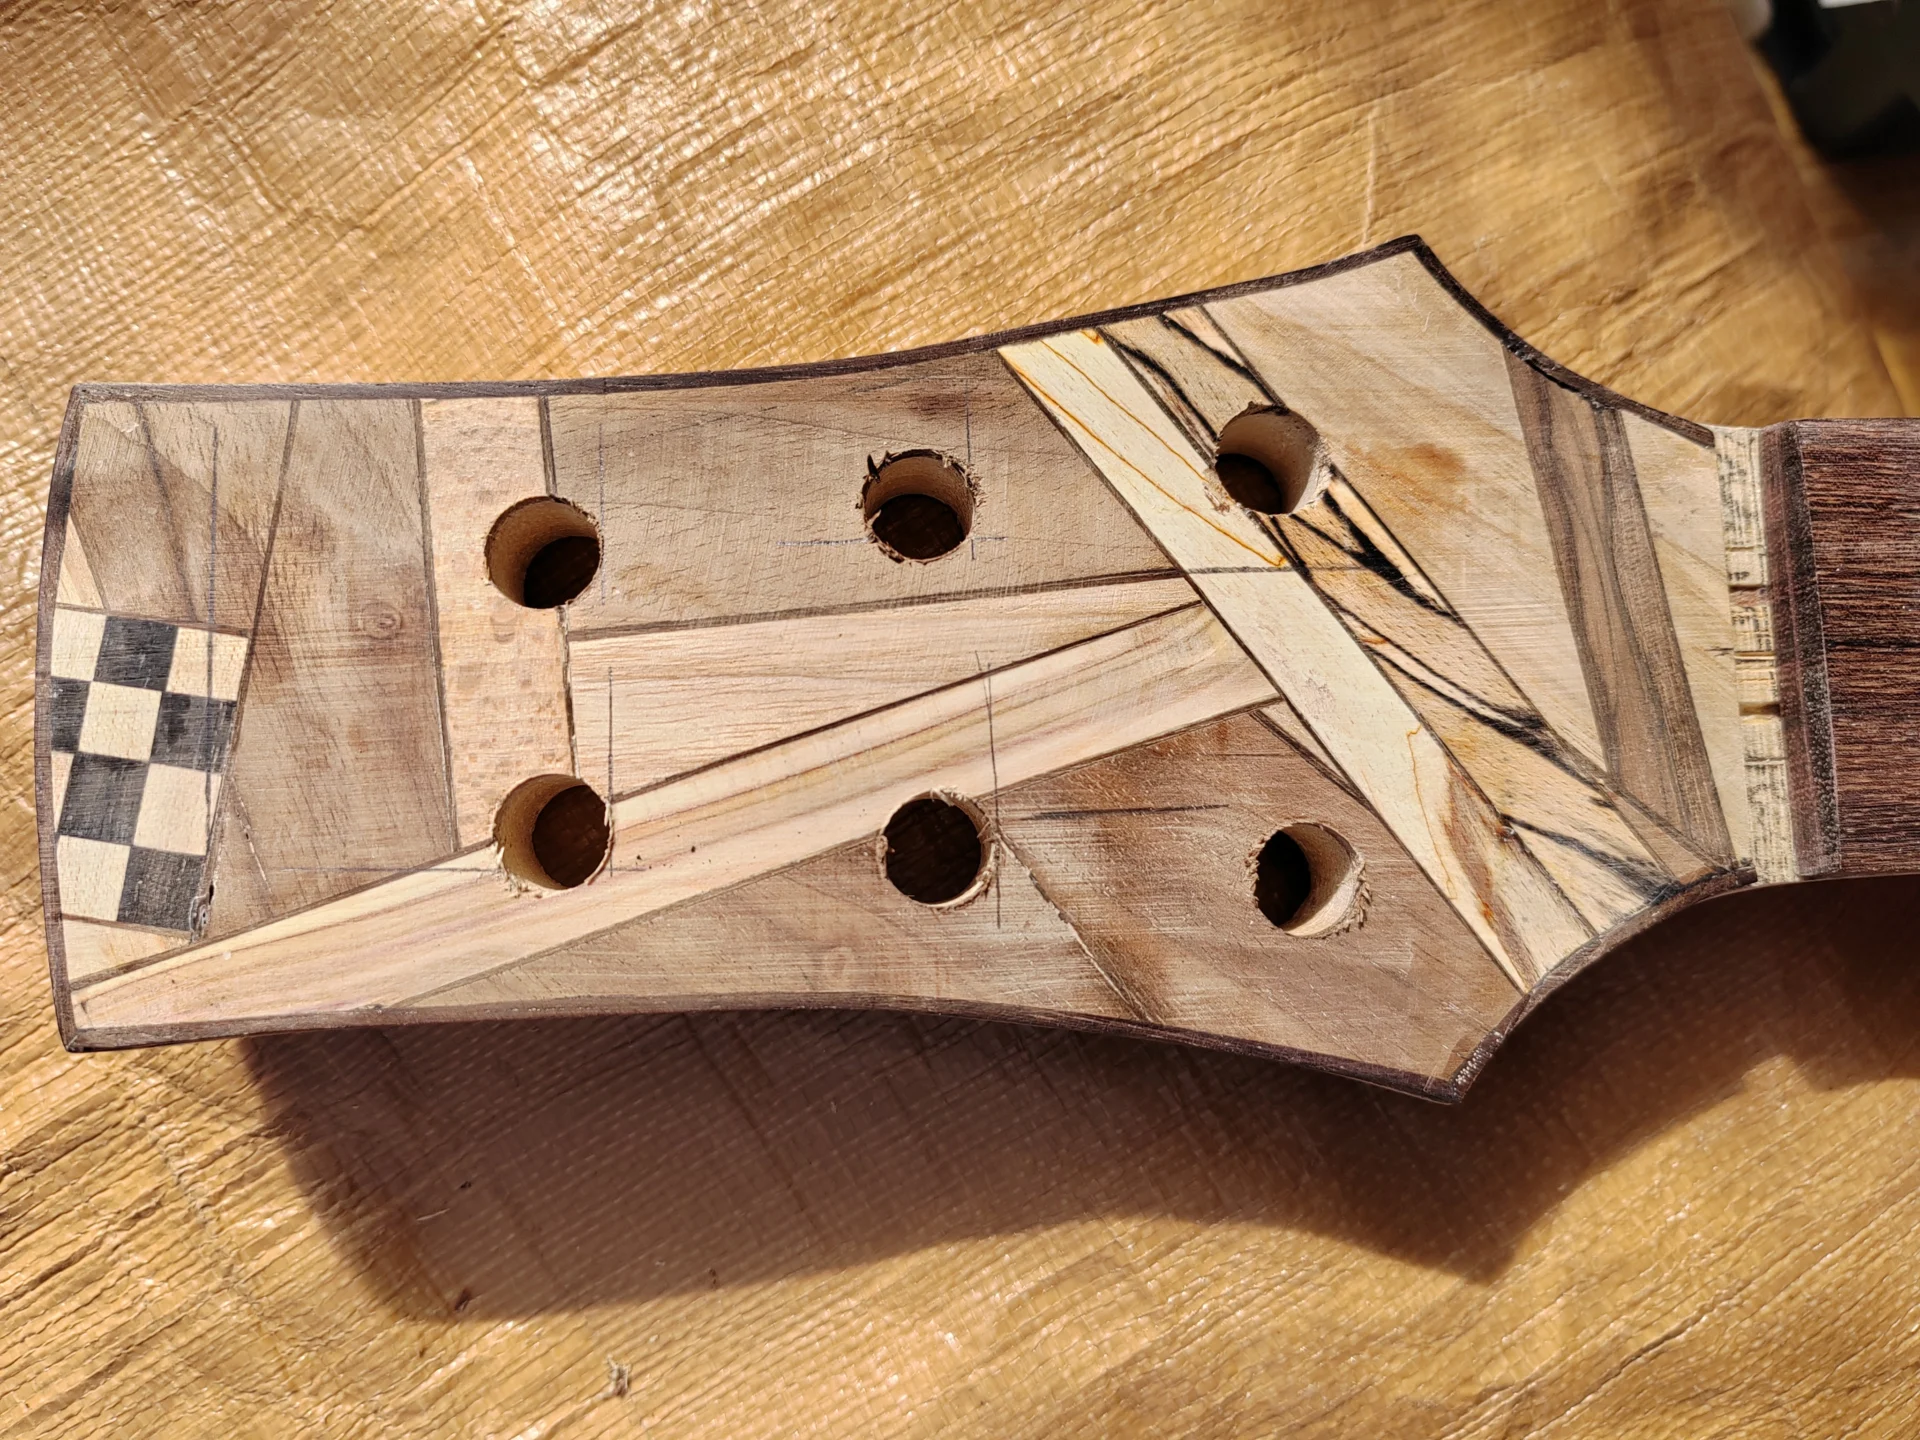
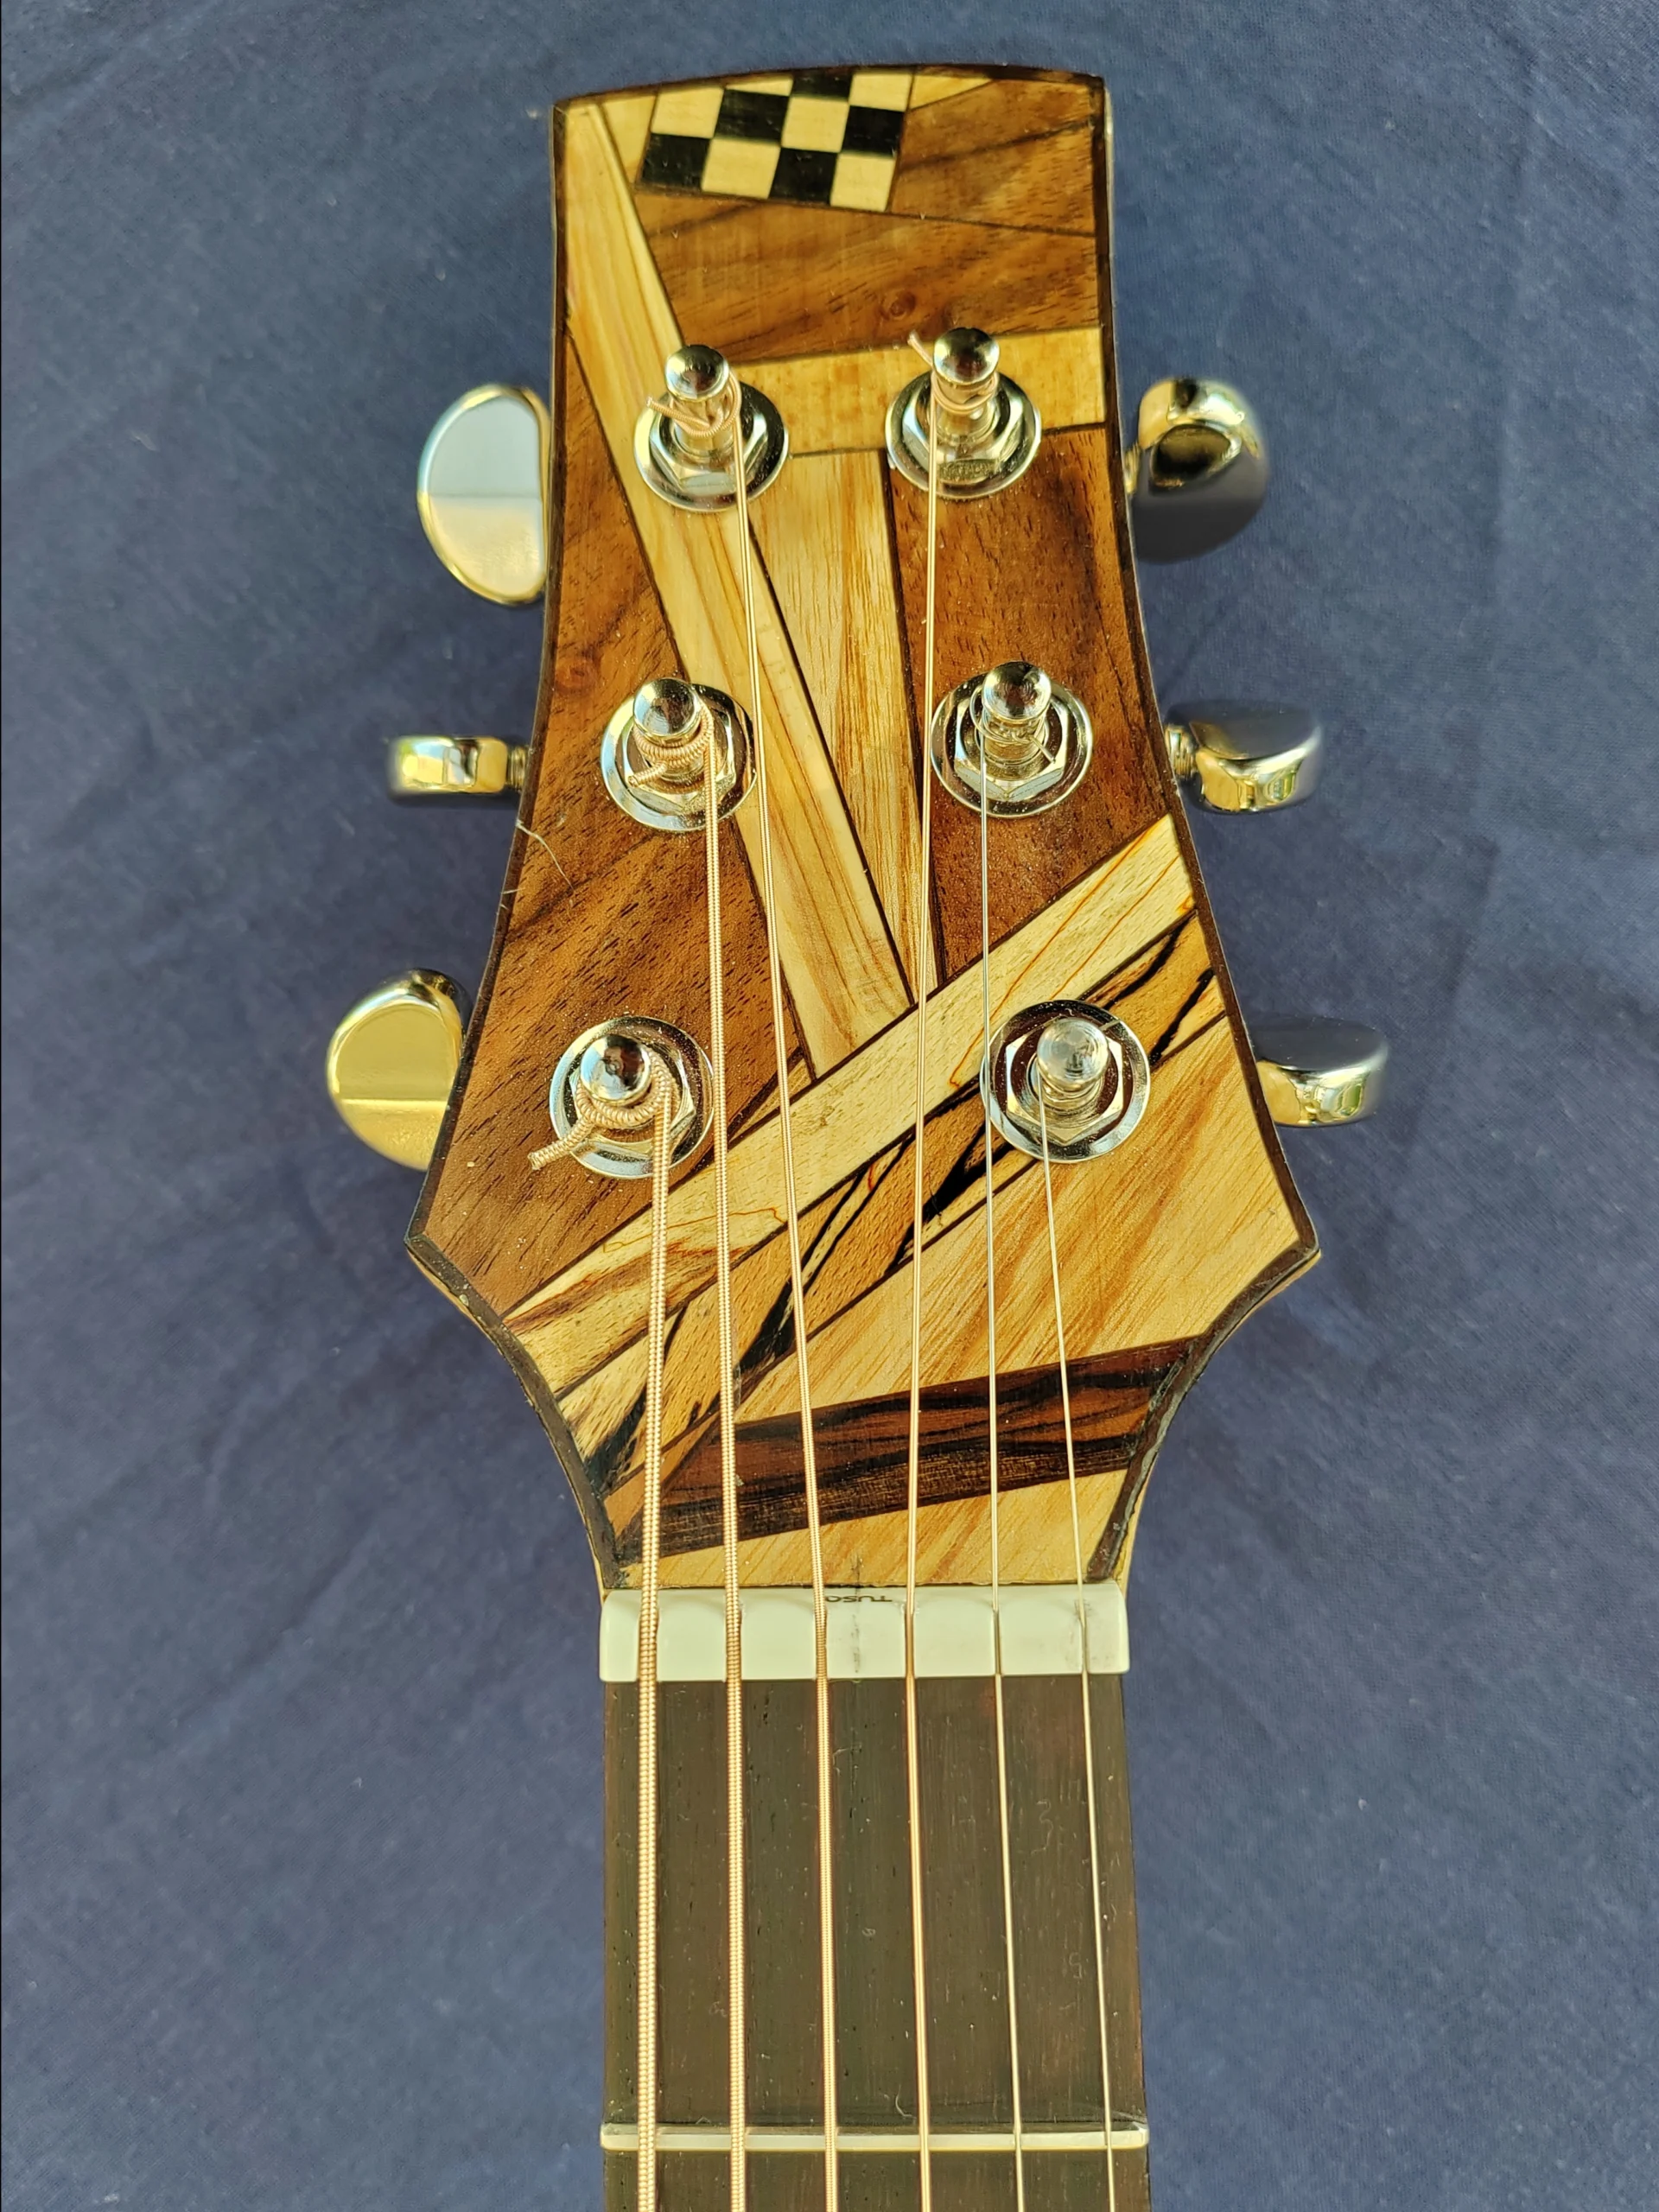
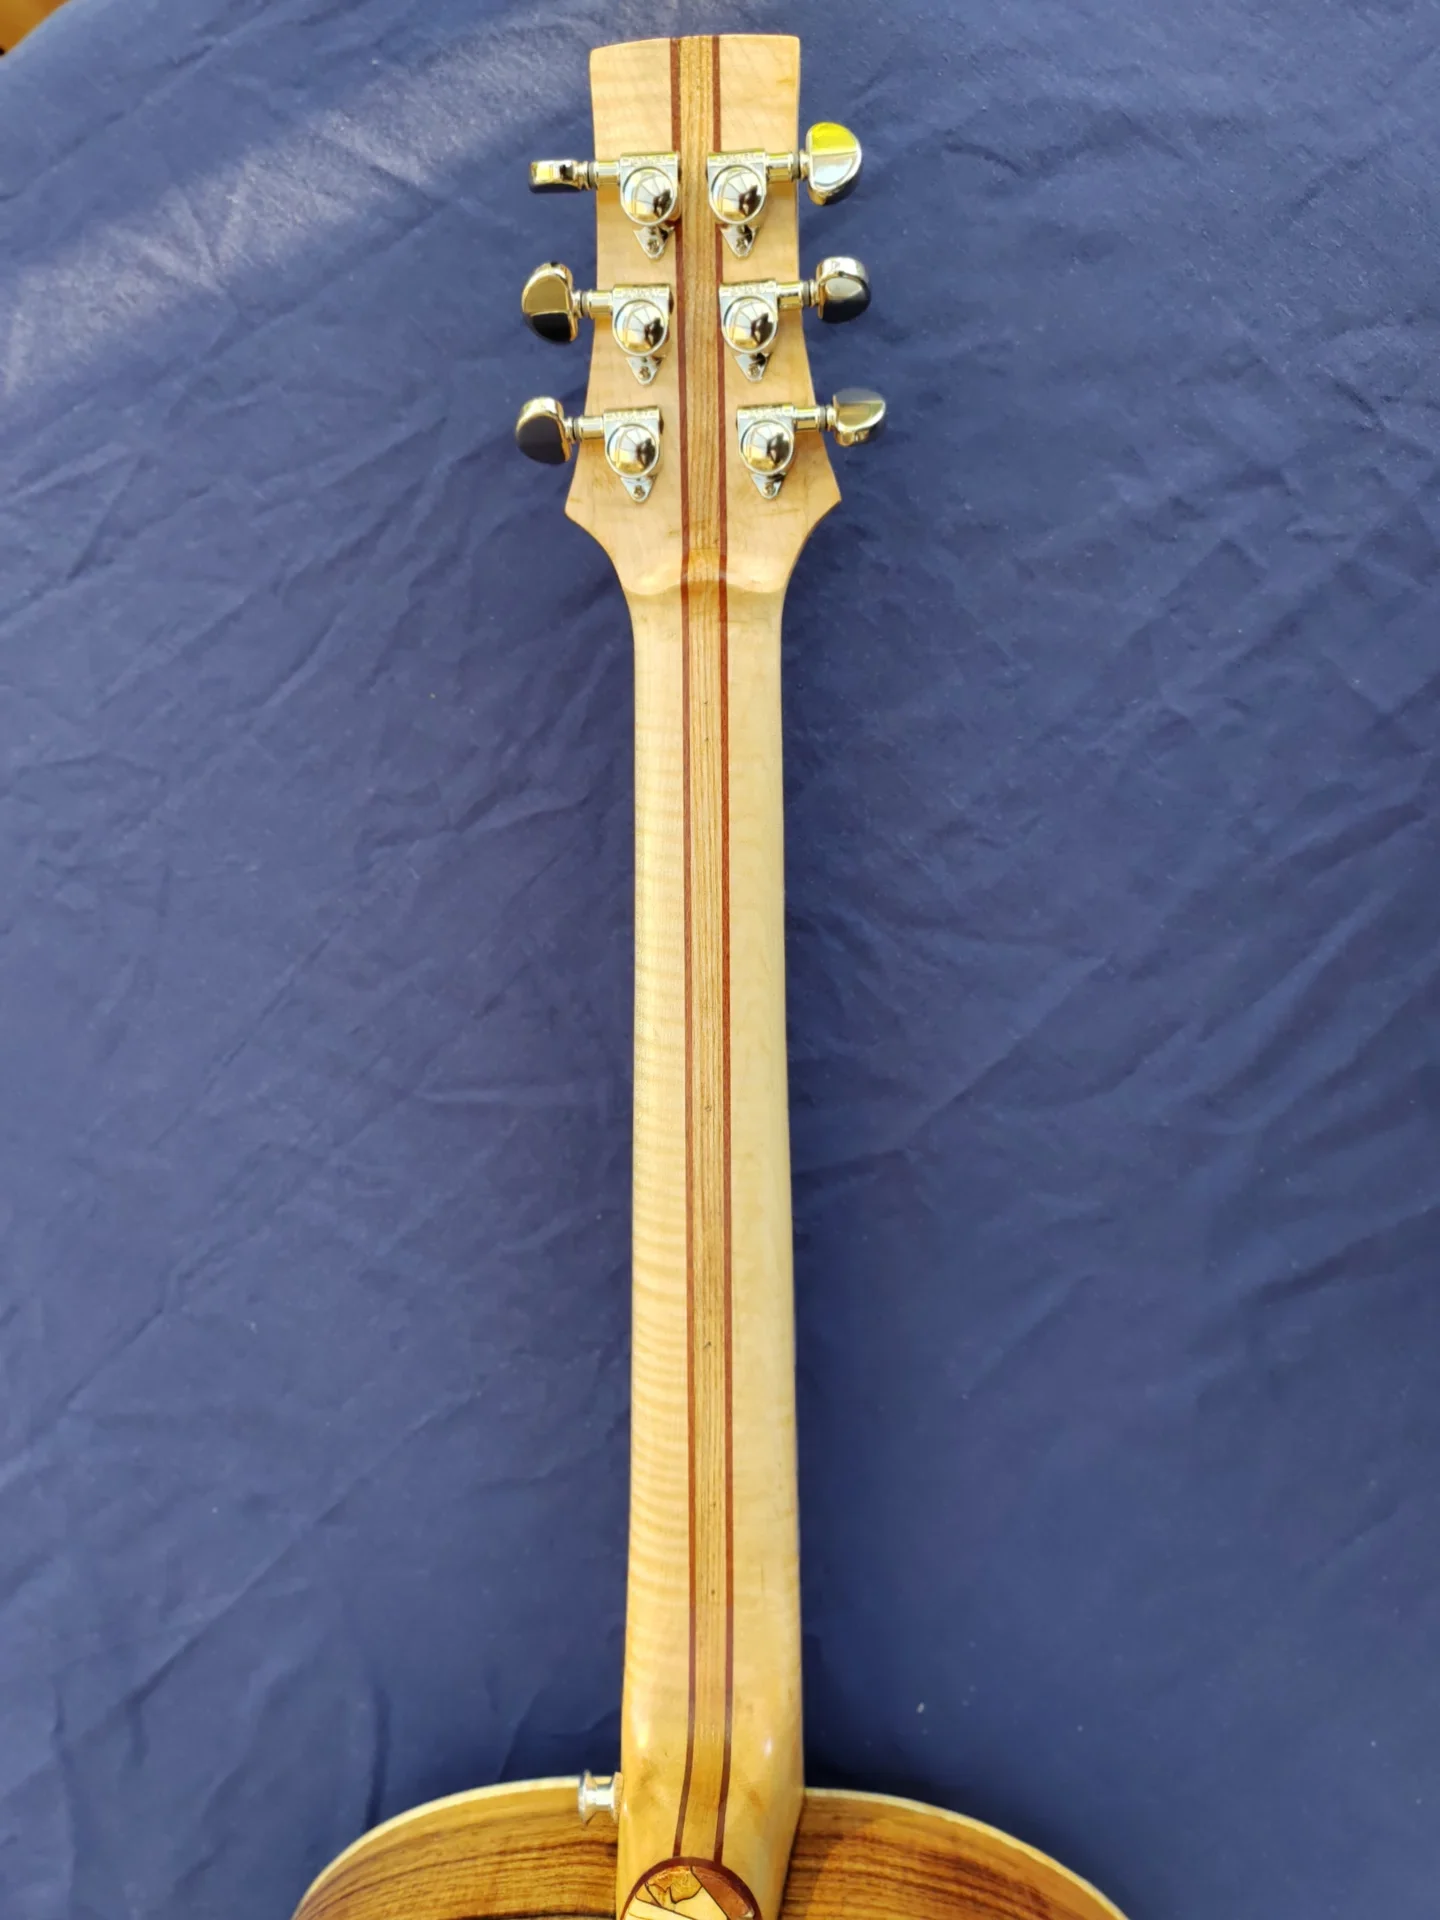
Drilling out the holes for the machine heads is a wee bit stressful – I’ve got to get really focused for this task; lots of concentration and no distractions. I use a template that I design on the computer for the placements, but still, one slip and it’s a new neck. I also use this block of Mahogany to guide the drill bit, because the hole has to be perpendicular. I have previously used a stand-drill, but they’re apt to wobble slightly due to vibration, with the risk of missing the mark.
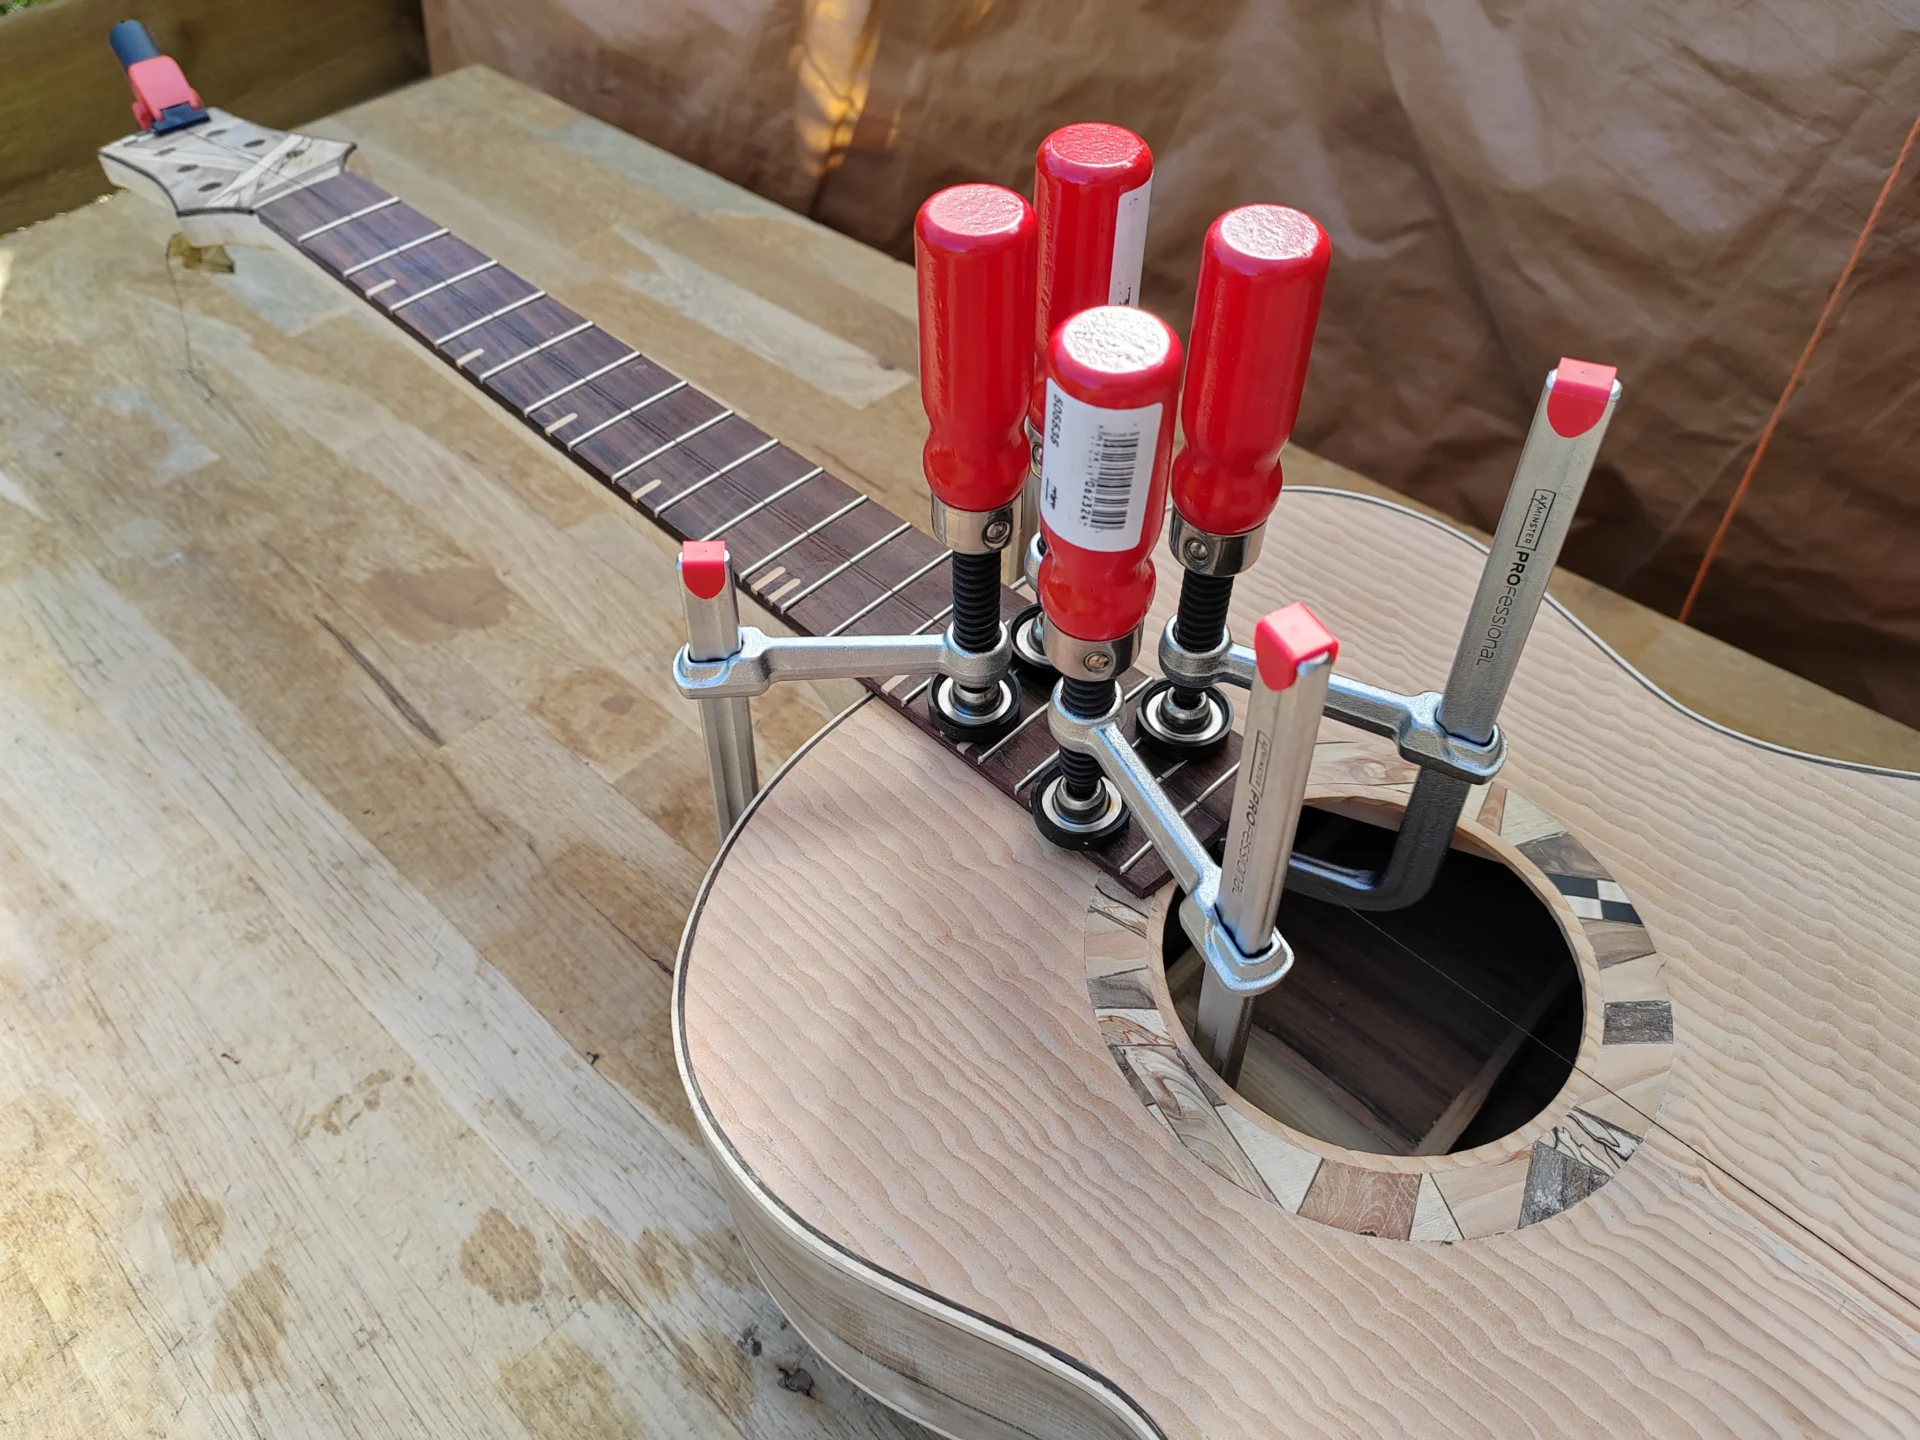
At last, the neck/fingerboard is glued into place and there is a complete guitar (almost). You’ll maybe see there’s a black thread (a very low tech tool, but effective) running from the head, the length of the fingerboard and over the top. At this stage there’s virtually nothing ‘square’ to take measurements from. So, assuming the soundboard was properly aligned when it was glued on to start with, the black thread is as good a guide as you can get for making sure the neck is true (like the fingerboard, being slightly off centre leads to compound errors).
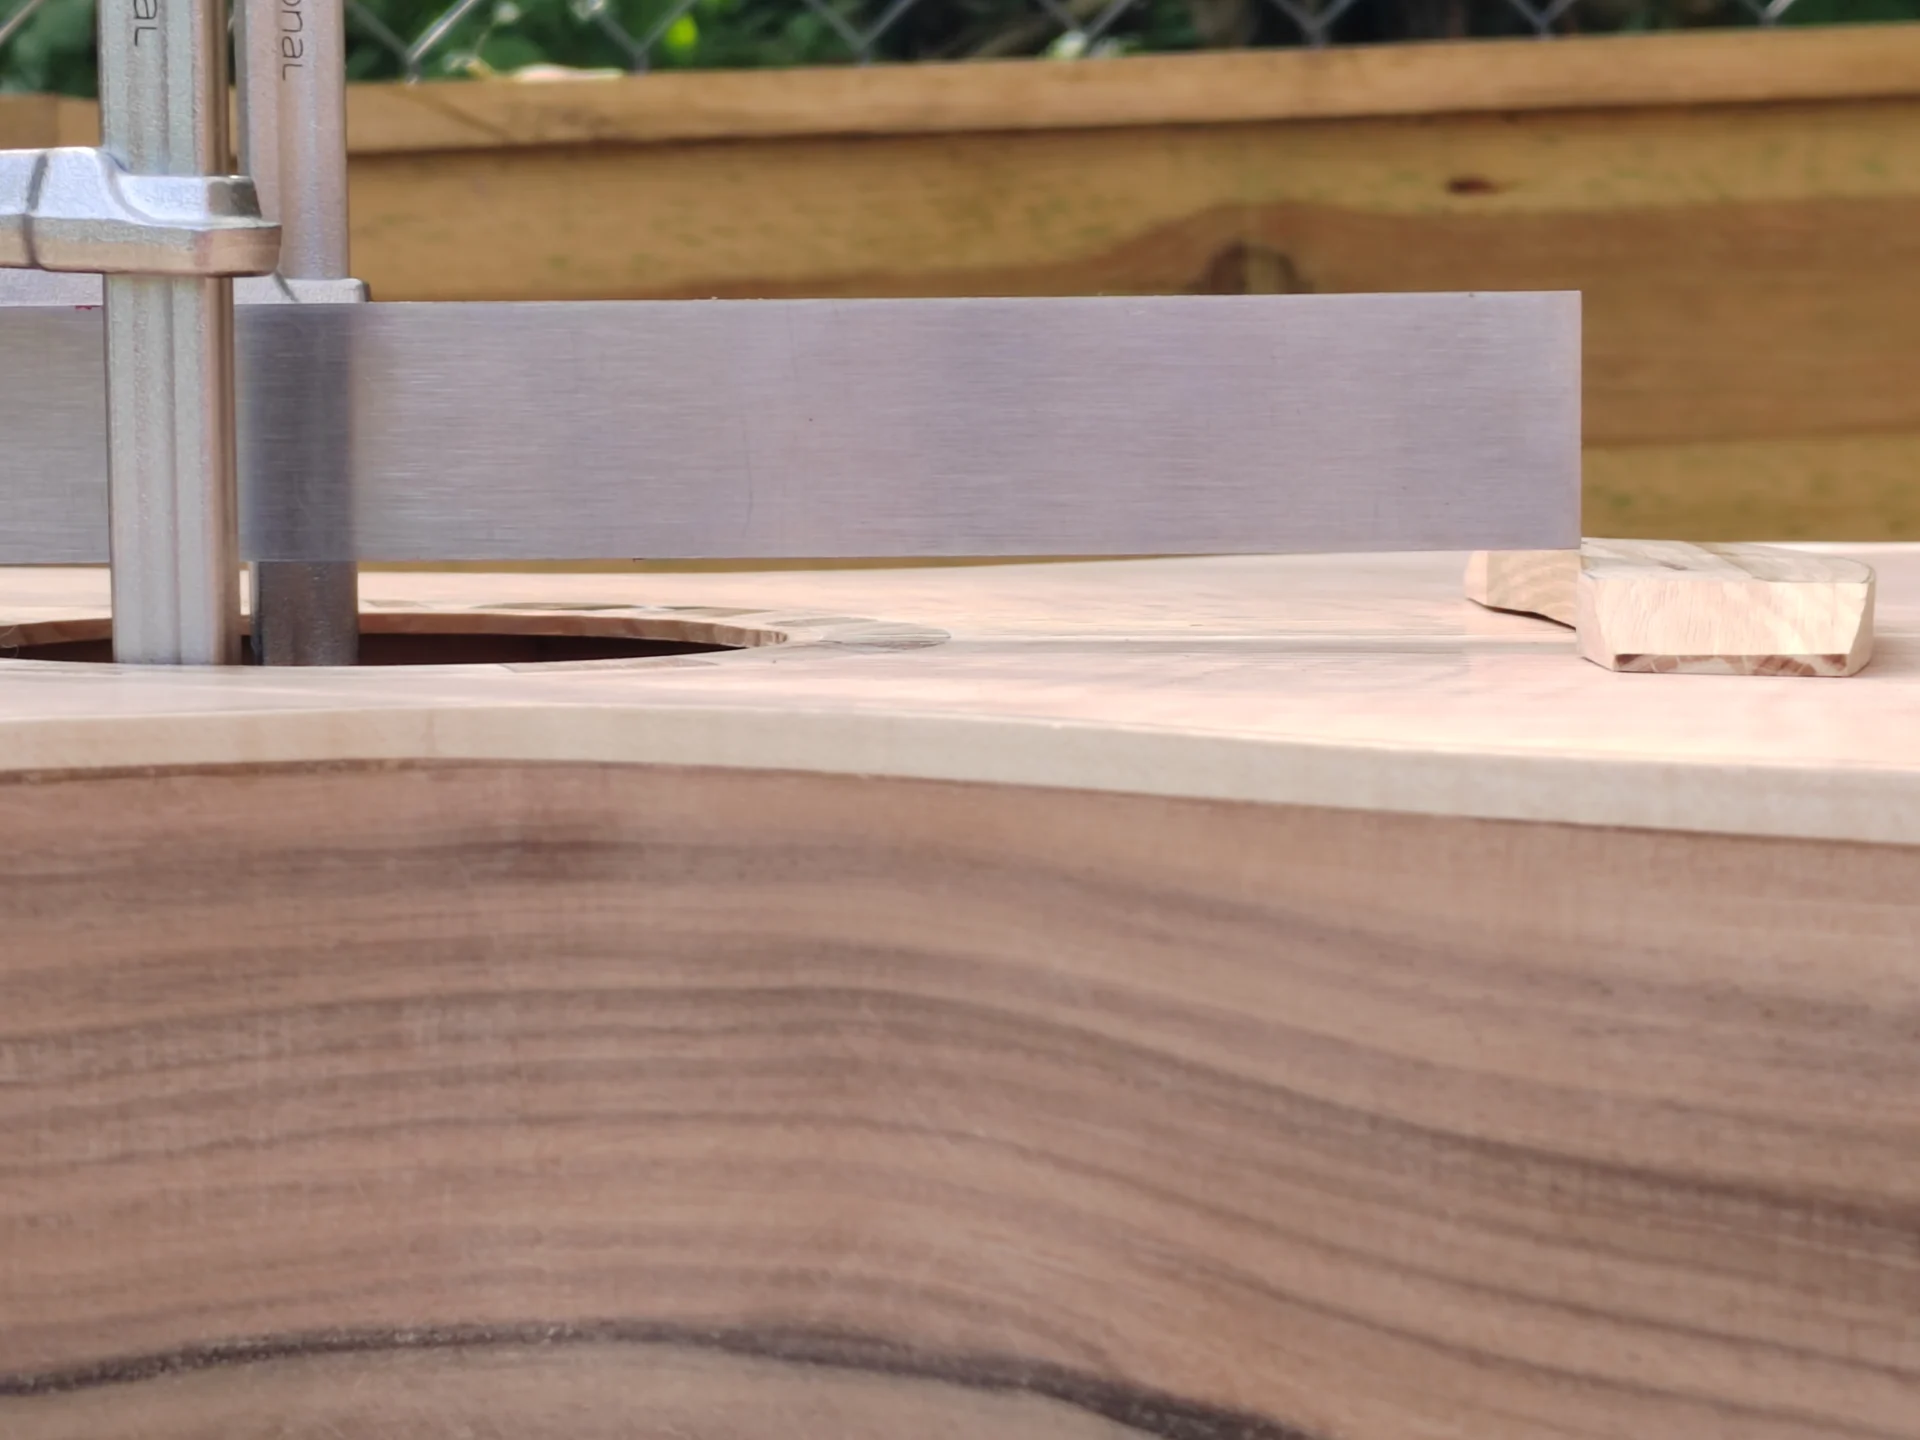
There’s a slightest of slight bit of movement possible when gluing in the neck, despite the dovetail joint being a very tight fit; and because the neck break-angle is critical, it is essential to check it when it’s being clamped. Ideally, if you place a steel ruler on the fingerboard and slide it towards the bridge, you’ll know if the neck is at the right angle if the end of the ruler just skims the top of the bridge (and mightily relieved you’ll be).
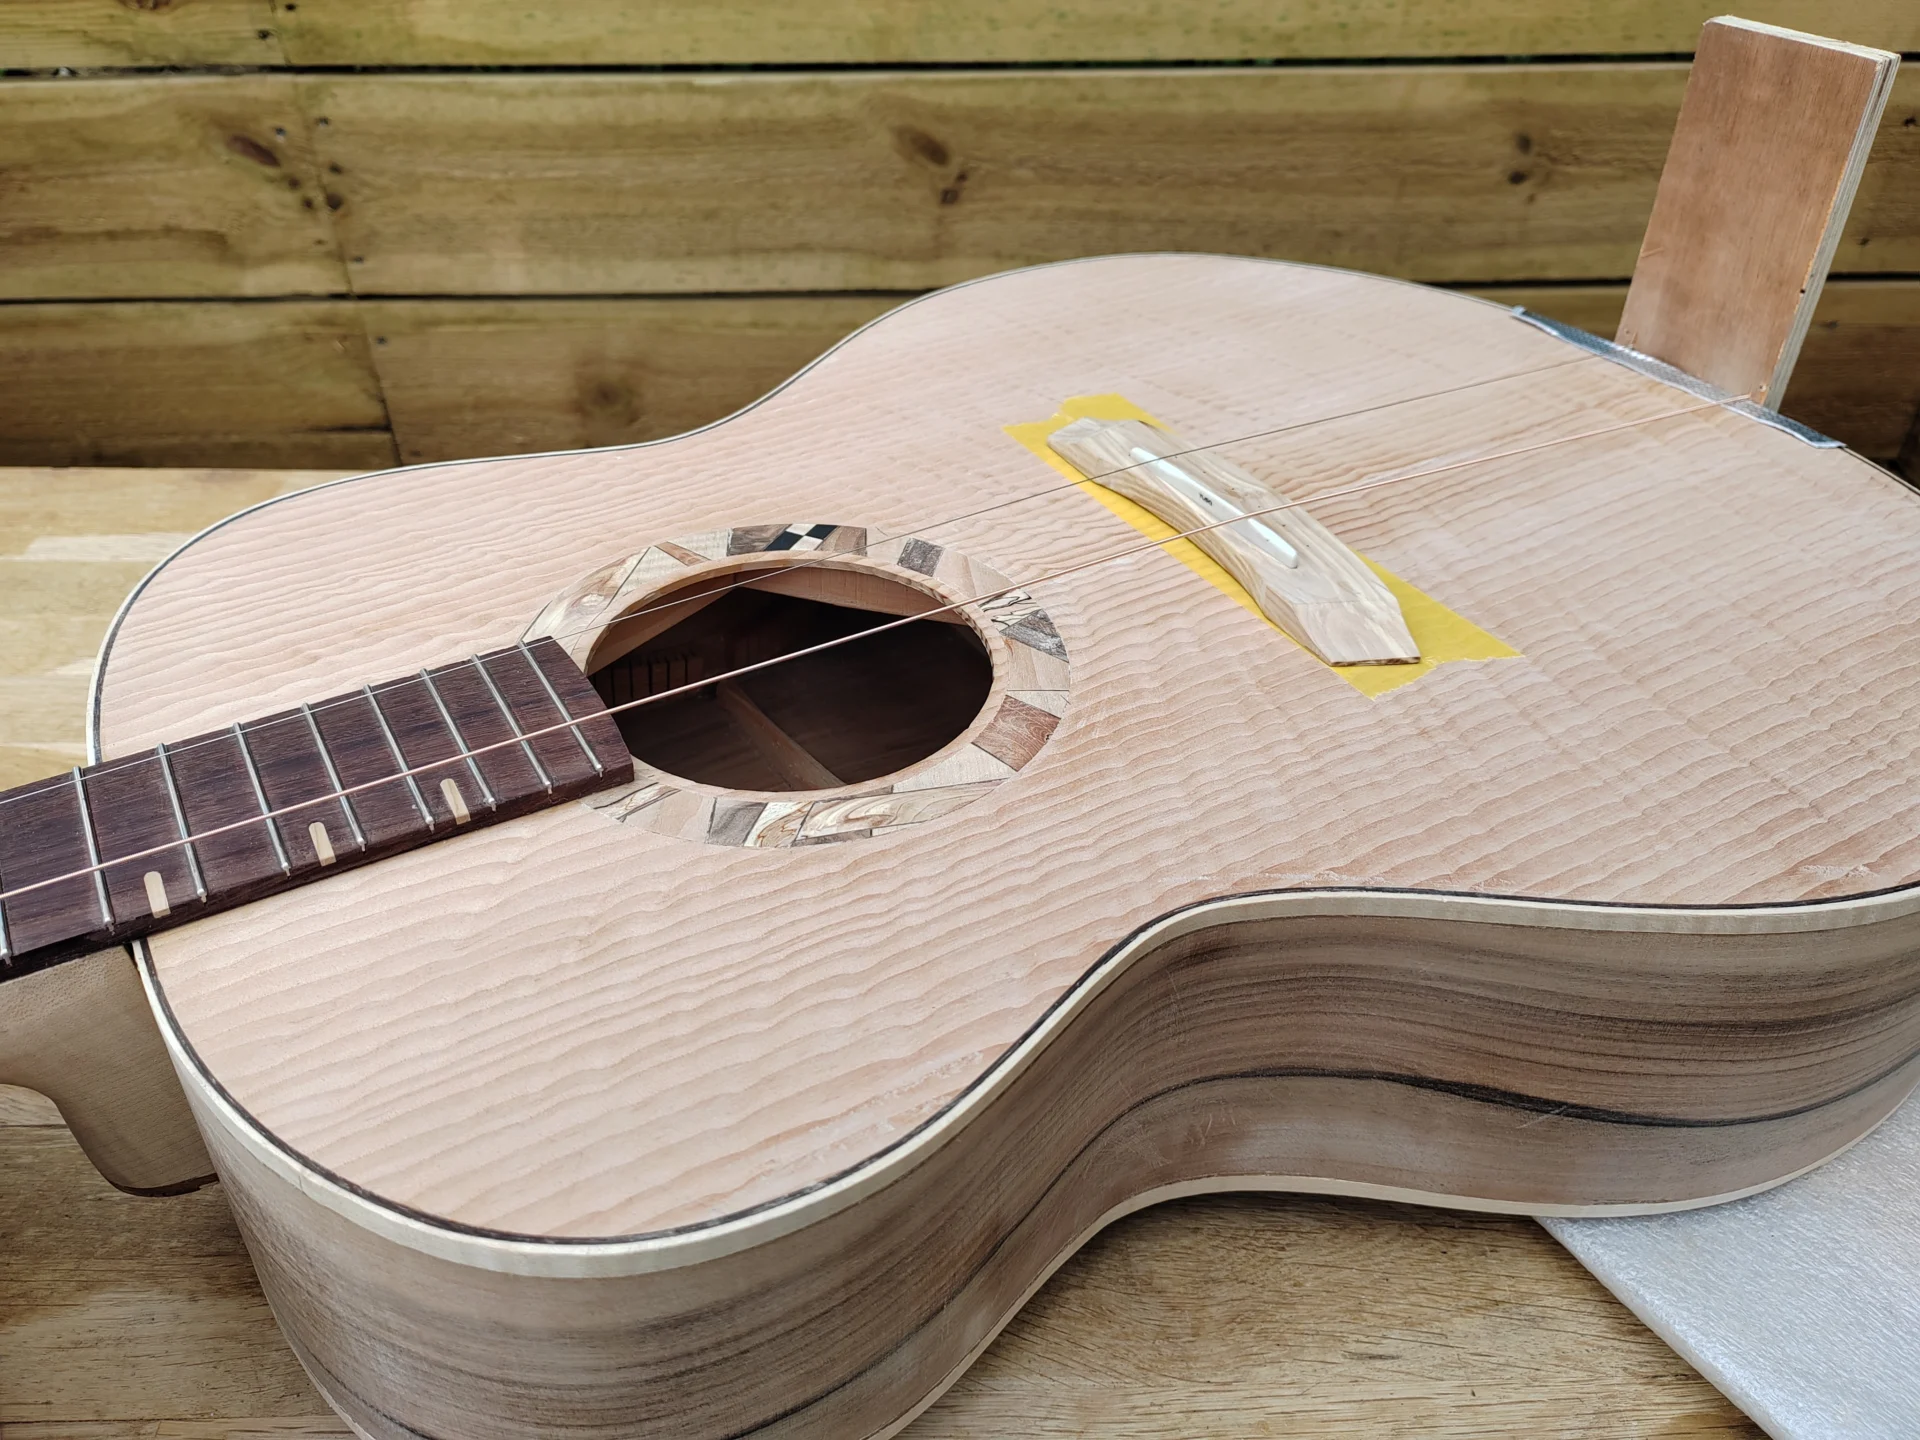
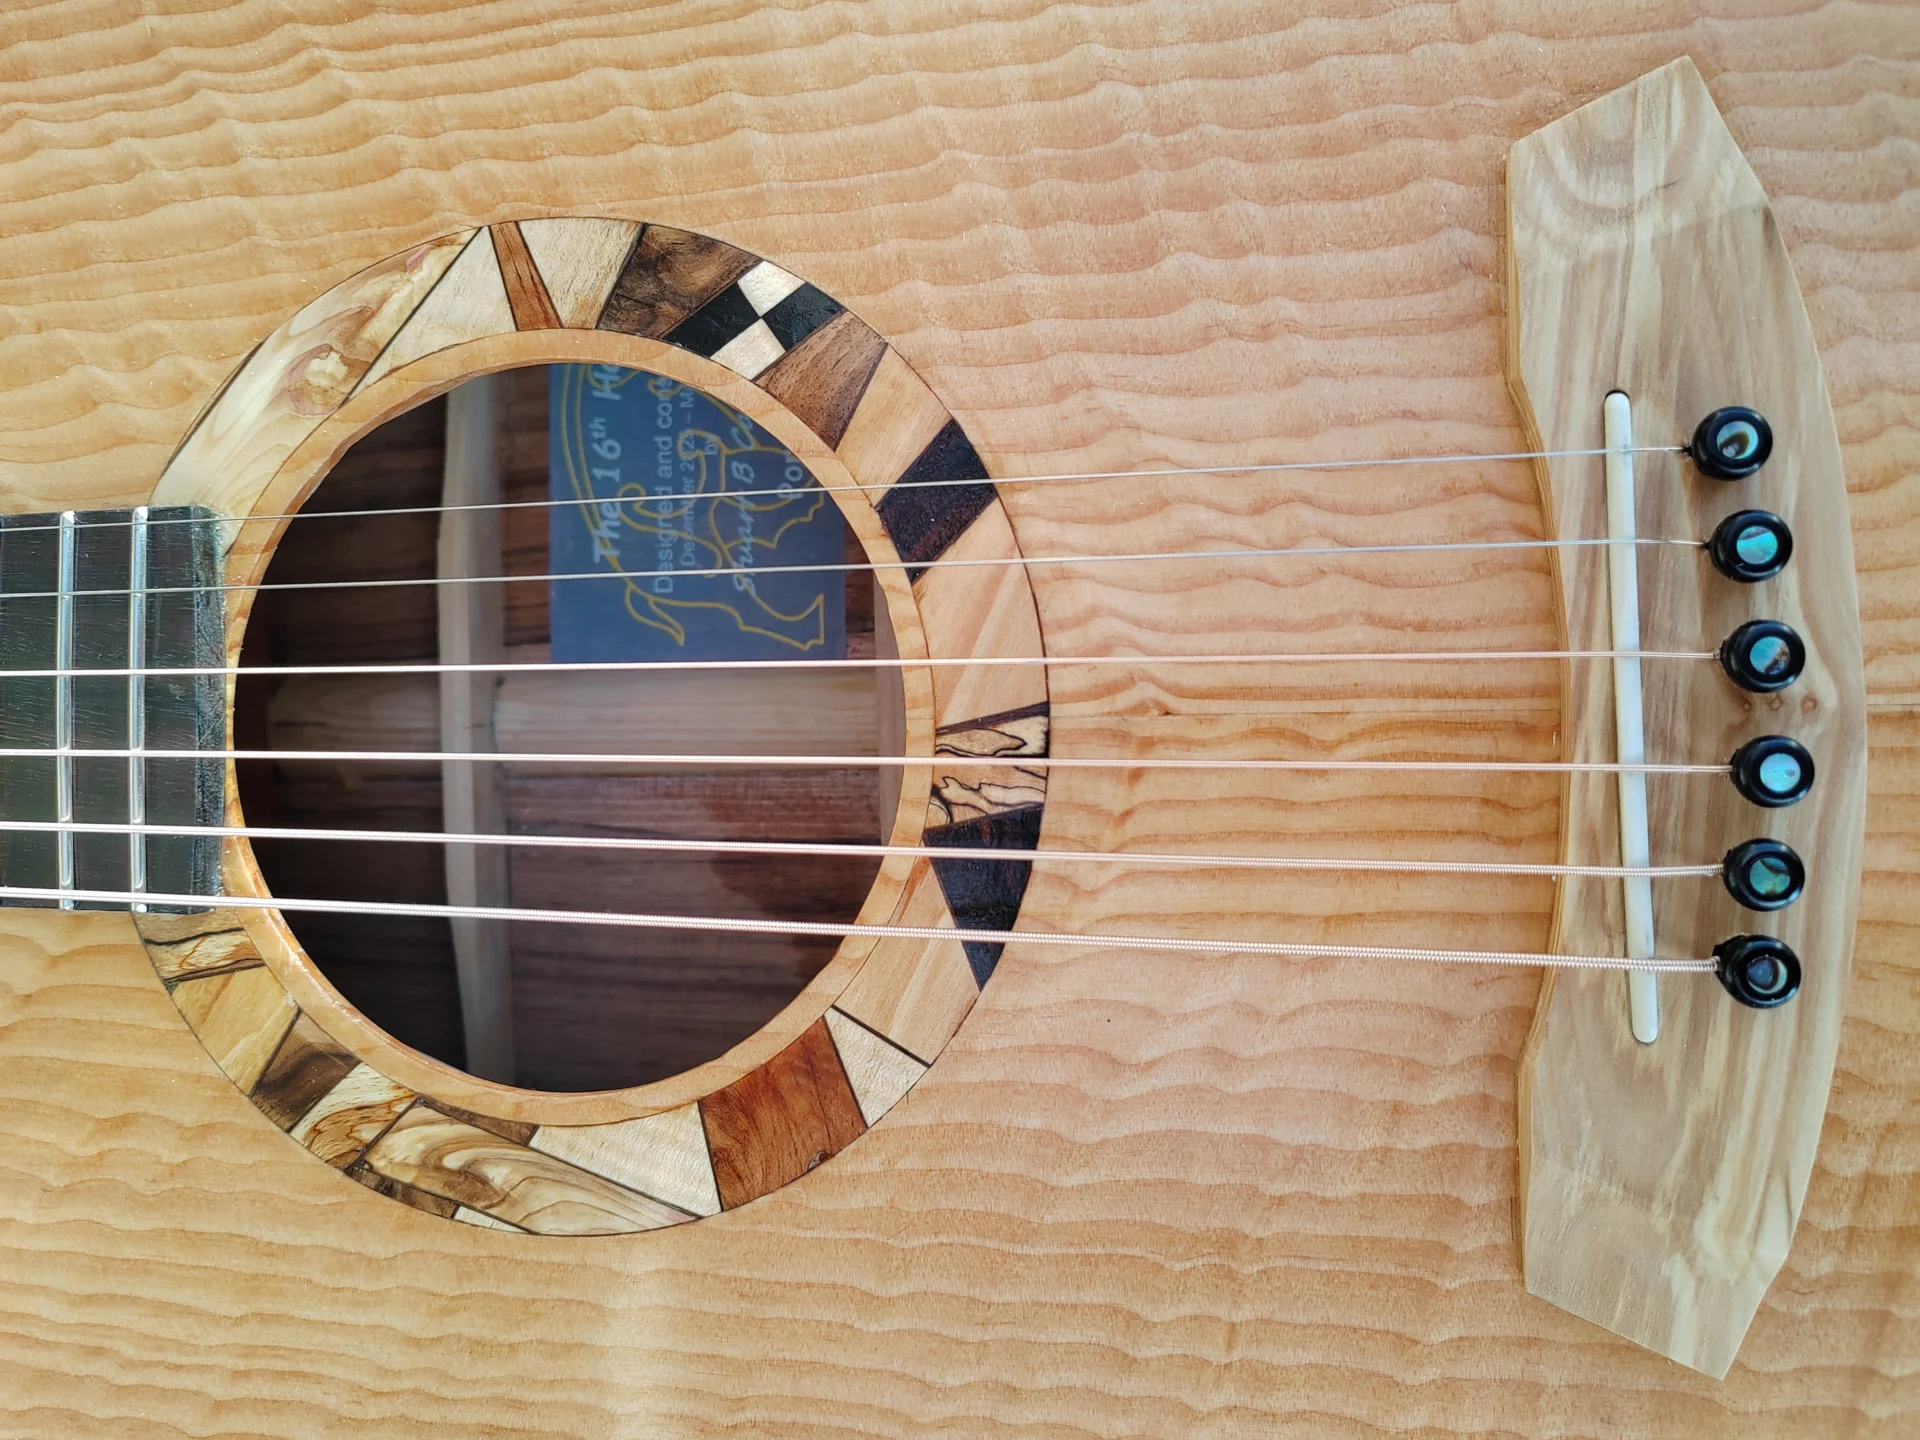
All that remains to be done at this stage is making sure the exact position of the bridge is found and marked up (the bridge is glued on after the finish has been applied). It is possible to do this by carefully measuring the distance. In theory this is twice the length of the distance from the nut to the twelfth fret, but in reality it is very slightly more (due to a mathematical calculation I don’t entirely understand). There are charts and calculaters available on-line that will give you the exact length, but that’s all a bit theoretical for my liking. I attach a temporary tail piece (I know, it looks a bit Heath Robinson) and a couple of machine heads, then put on the B and A strings. By using a strobe tuner (accurate to 0.1 cent, i.e. one hundredth of a semitone) and plucking the strings, I can move the bridge into its precise position. The bridge was placed on low-tack masking tape and marked out; after removing it a scalpel was used to cut out the shape, with the masking tape left in position for the finishing.
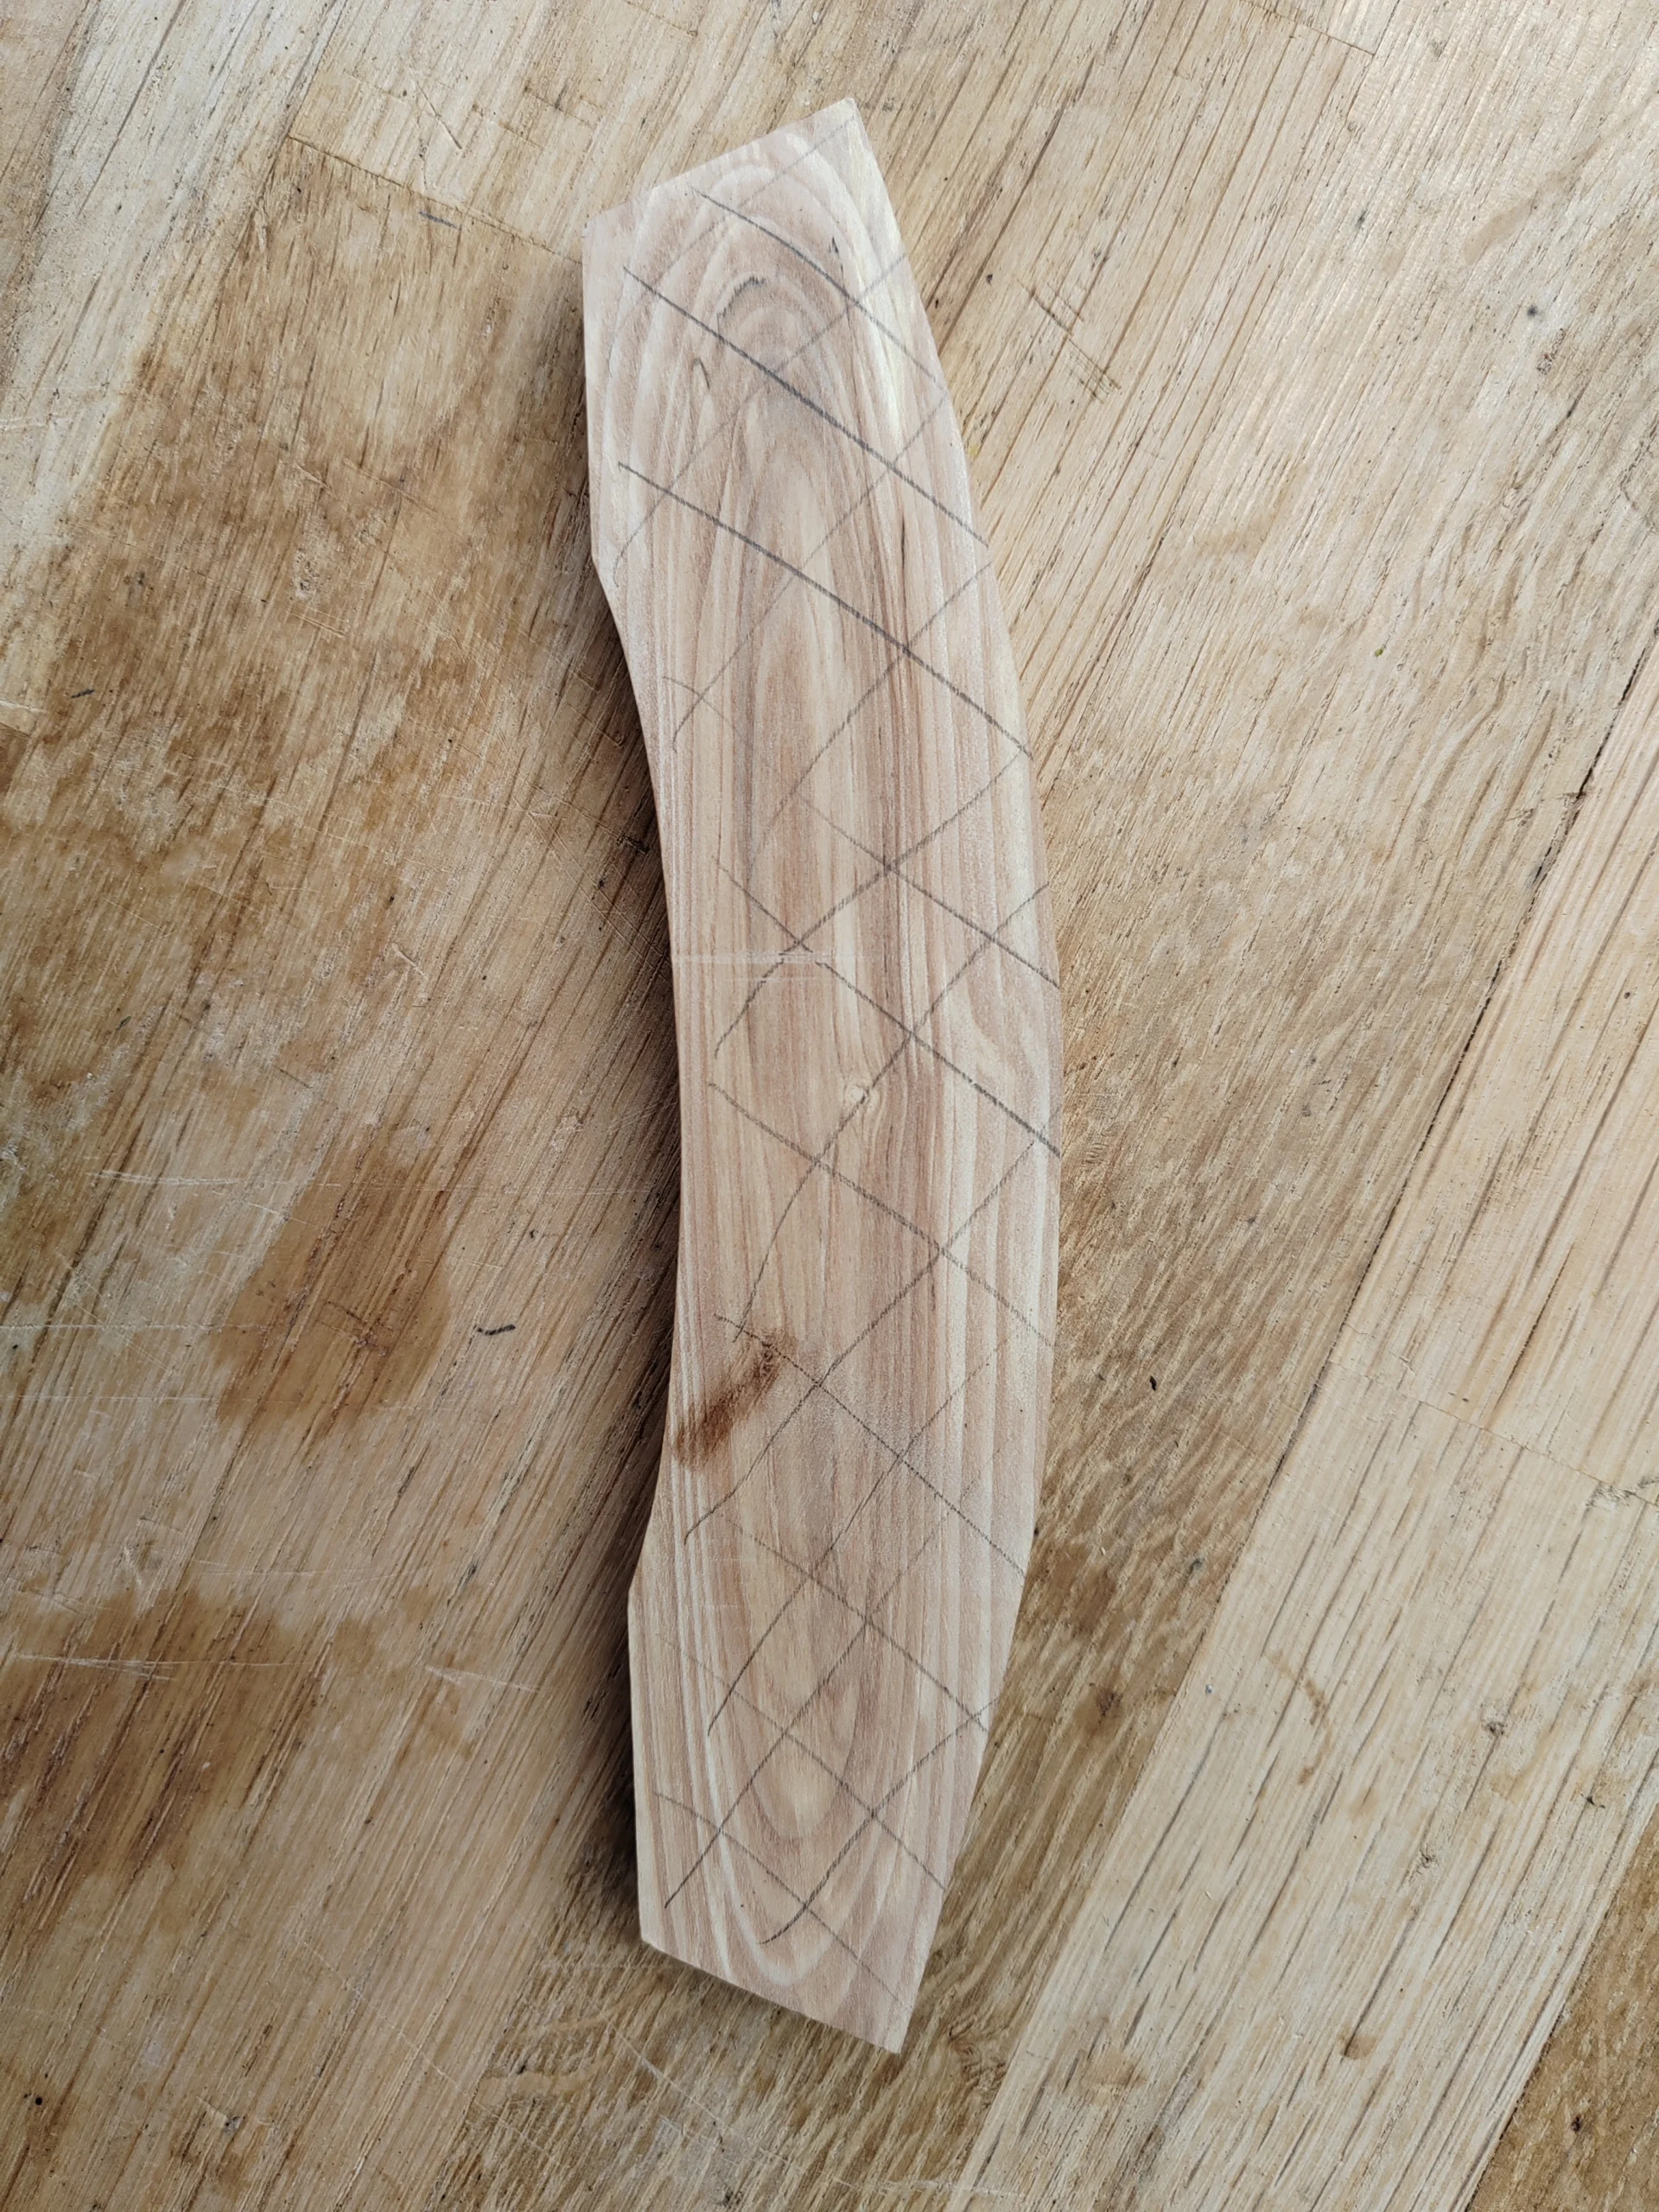
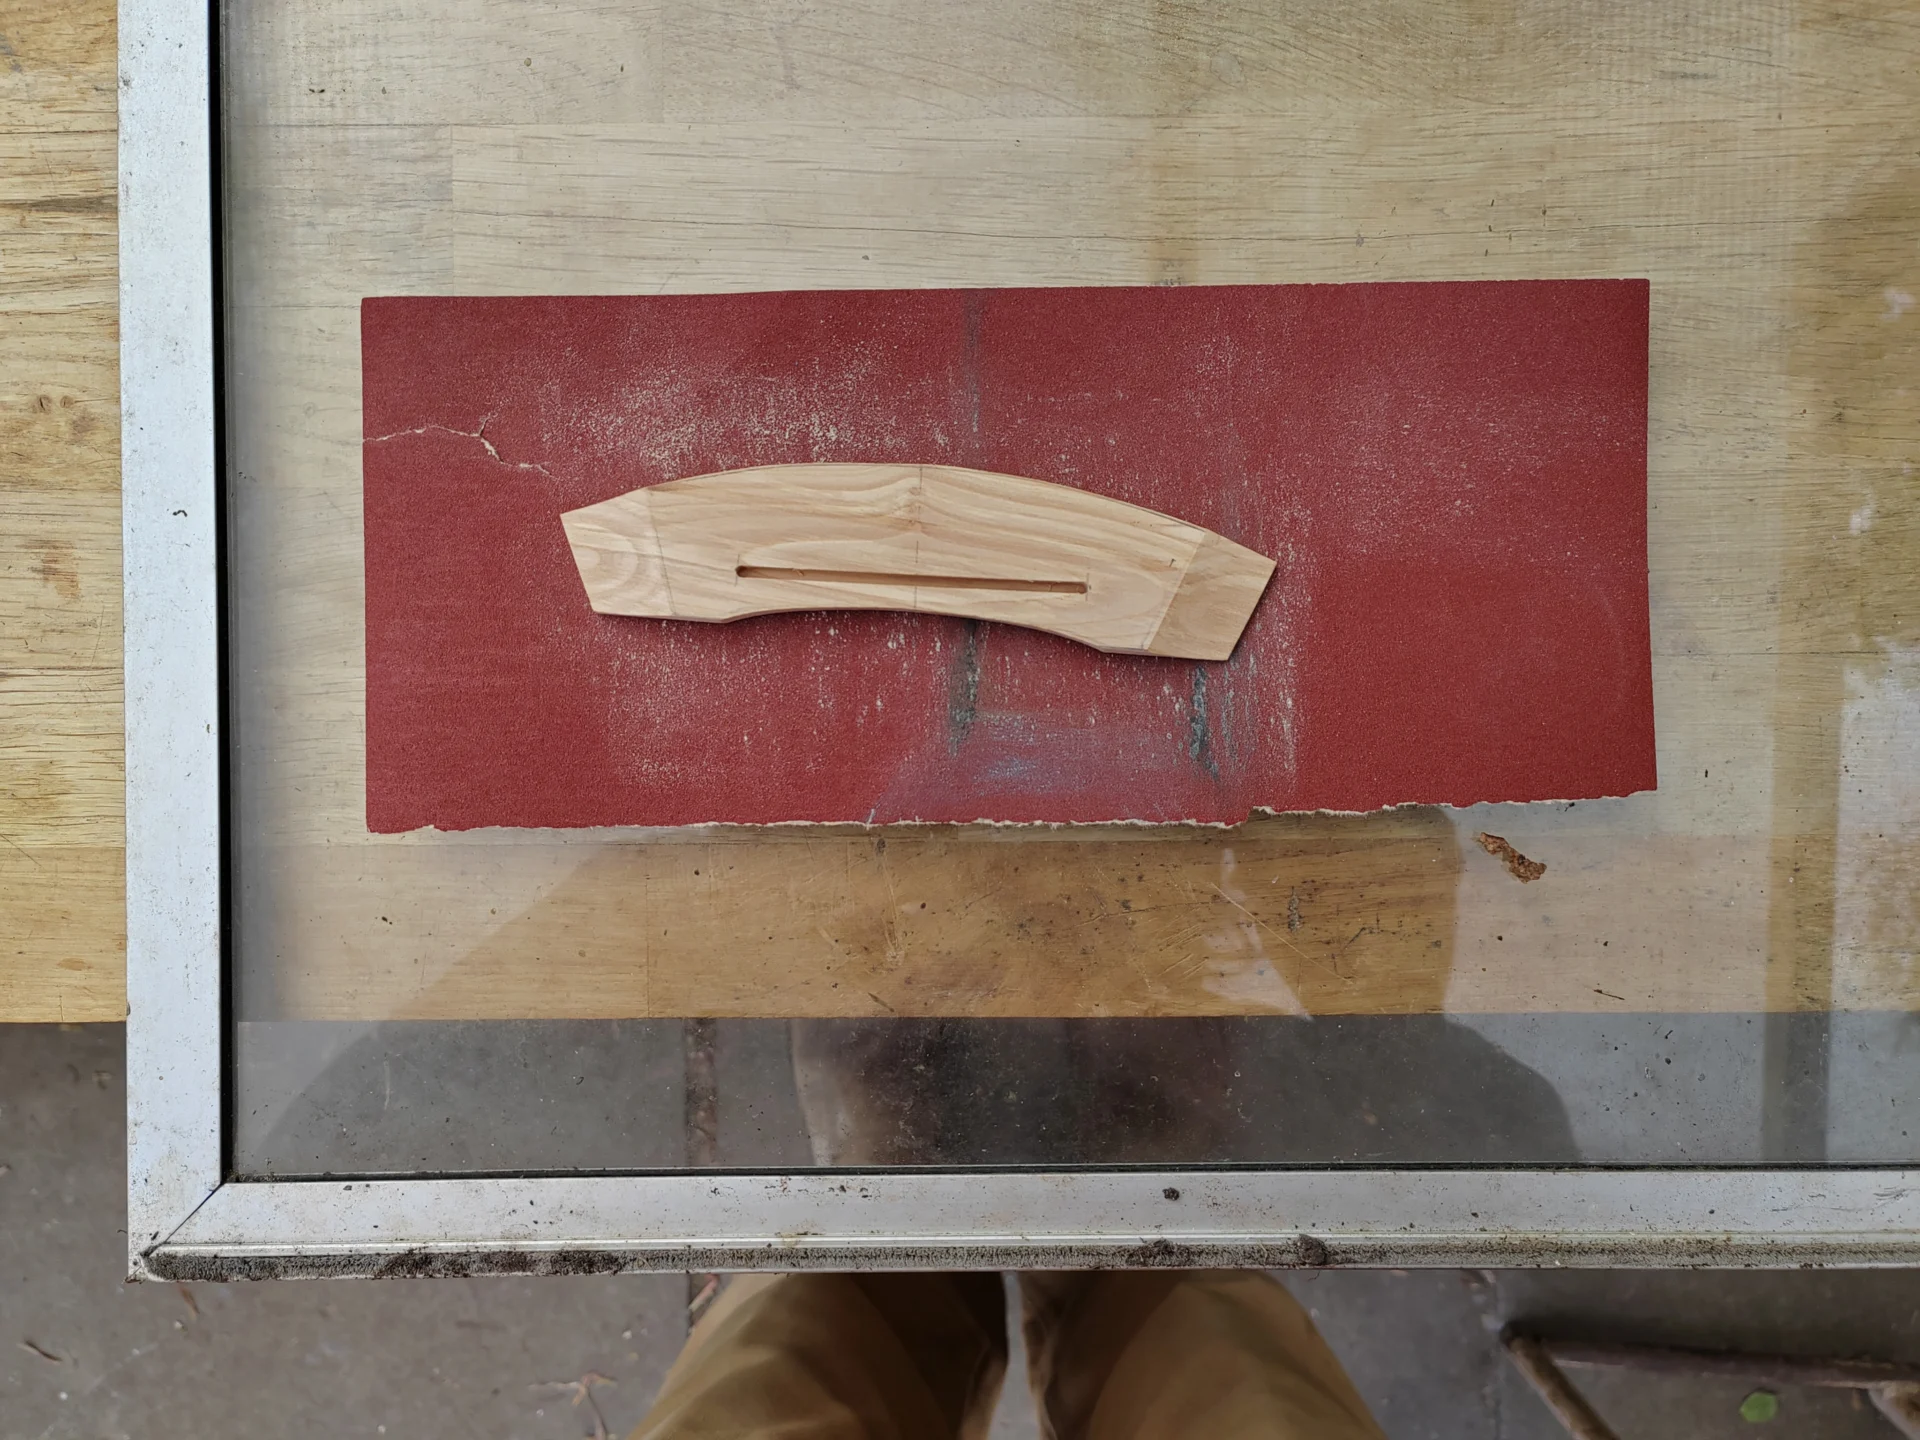
The base of the bridge has to be perfectly flat in order to get the best surface to surface join when it comes time to glue it in place. Again I use the hatching to check it’s being sanded evenly, but I do this on top of a sheet of glass, as that’s about as flat a surface as you can get.
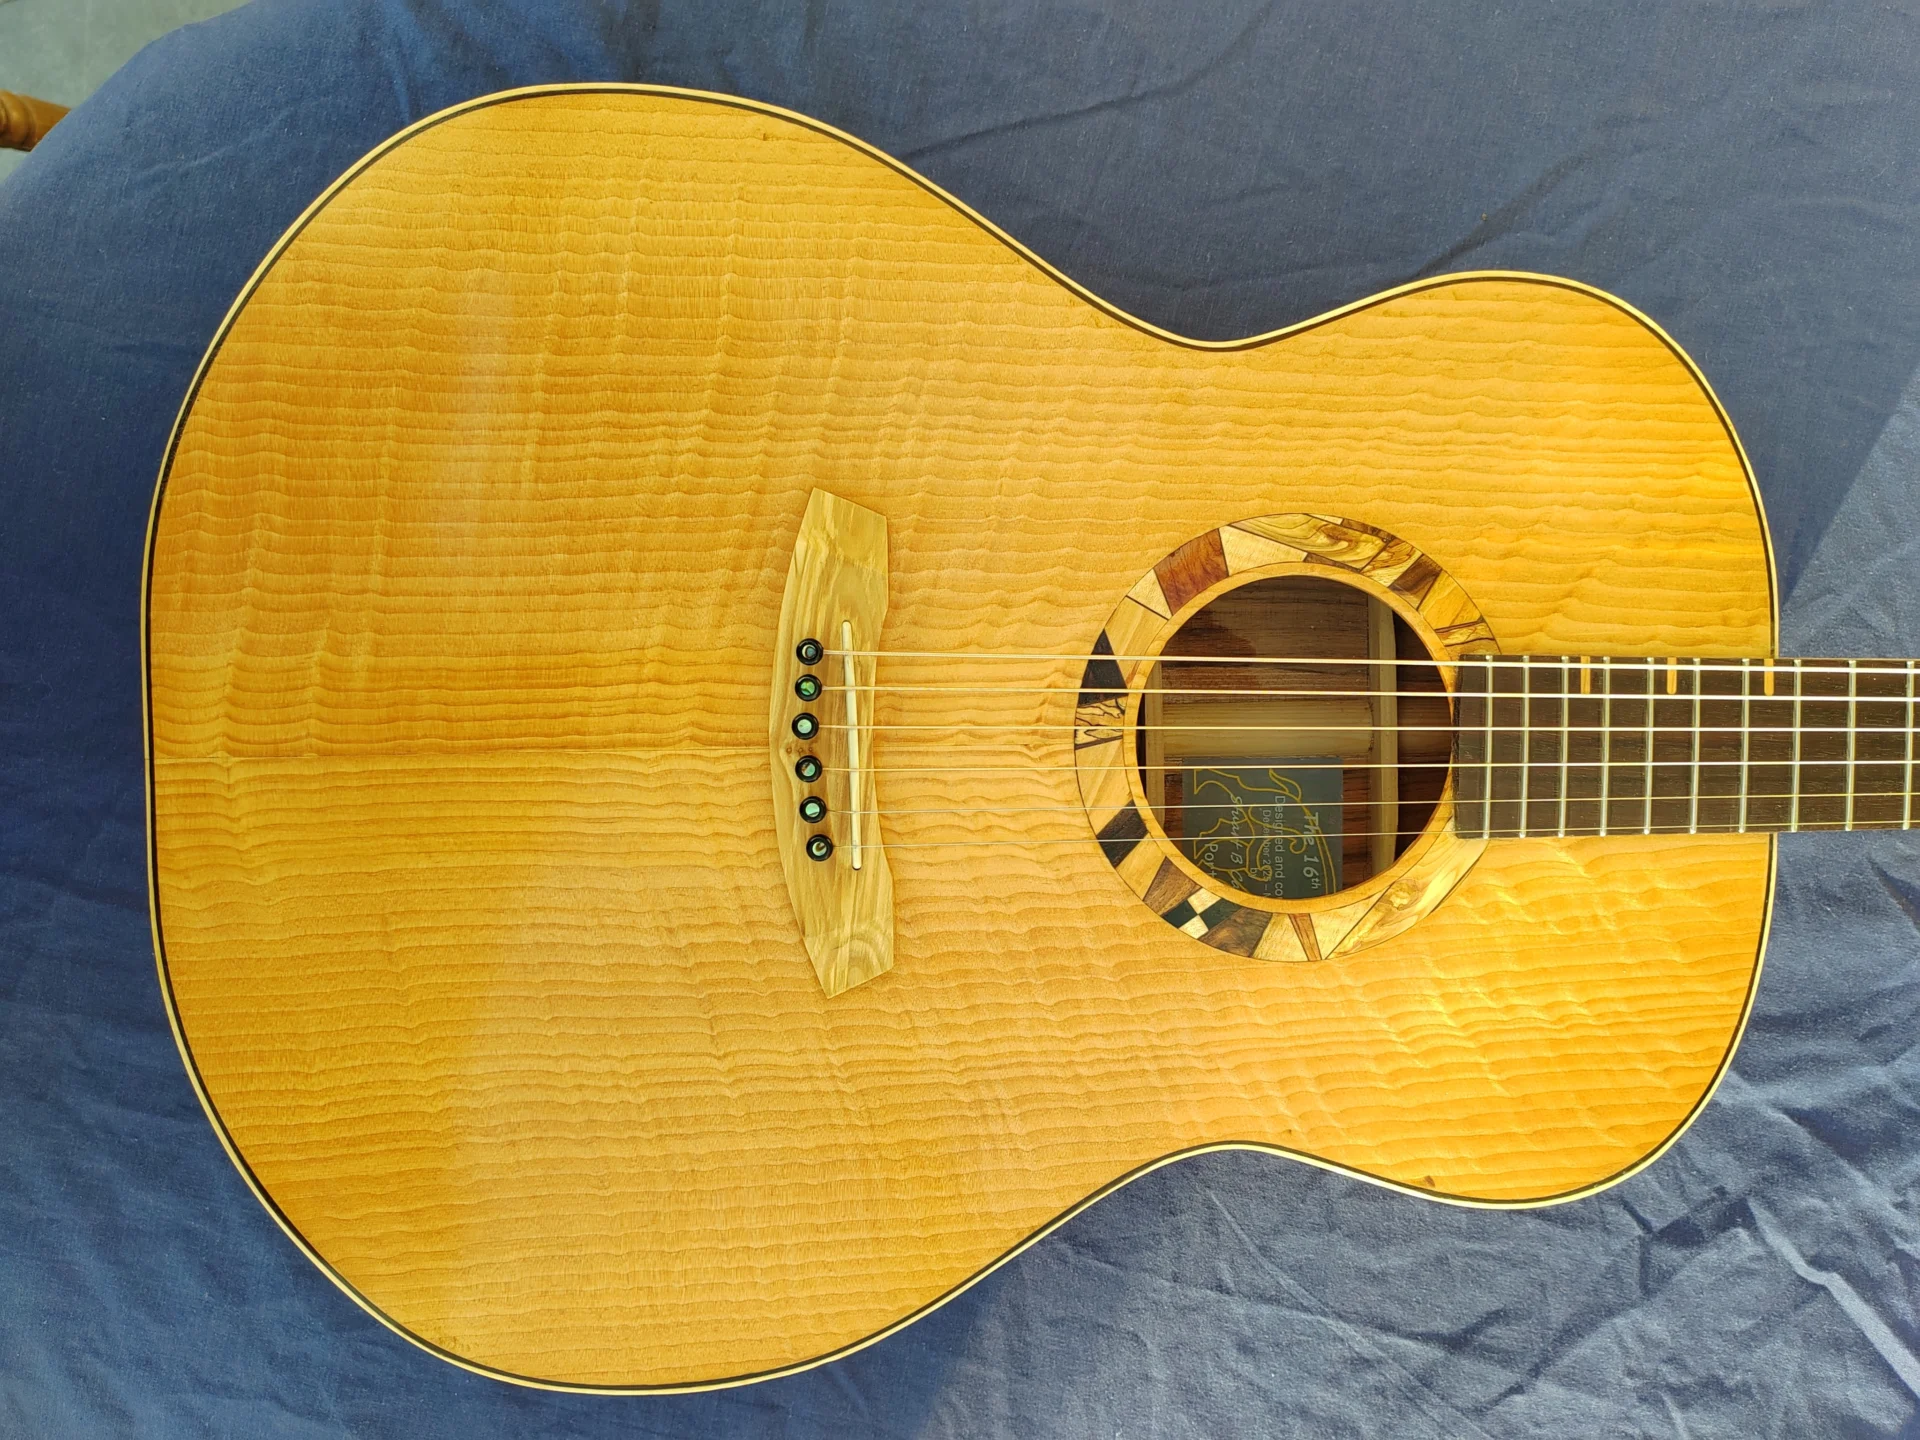
The first of eighteen coats of Danish oil were wiped on. There are a variety of finishes that can be used. Nitrocellulose lacquer is used by most of the big brands, but French Polish was traditionally used; and there’s a current trend among some luthiers to use epoxy resin. All of these finishes have their pros and cons. I like Danish oil – it’s not too challenging to apply (unlike French polish) and I think it allows the wood to look like wood; and because it’s a ‘penetrating oil’ it protects the wood more from high humidity. Sometimes nitro is applied so thickly that the wood starts to look artificial; as for using epoxy resin, I’ve yet to be convinced. It’s all a case of personal preference, though, and they’re all valid. Danish oil is mine – it doesn’t give a mirror finish, just a sheen that enhances the nature of the wood.
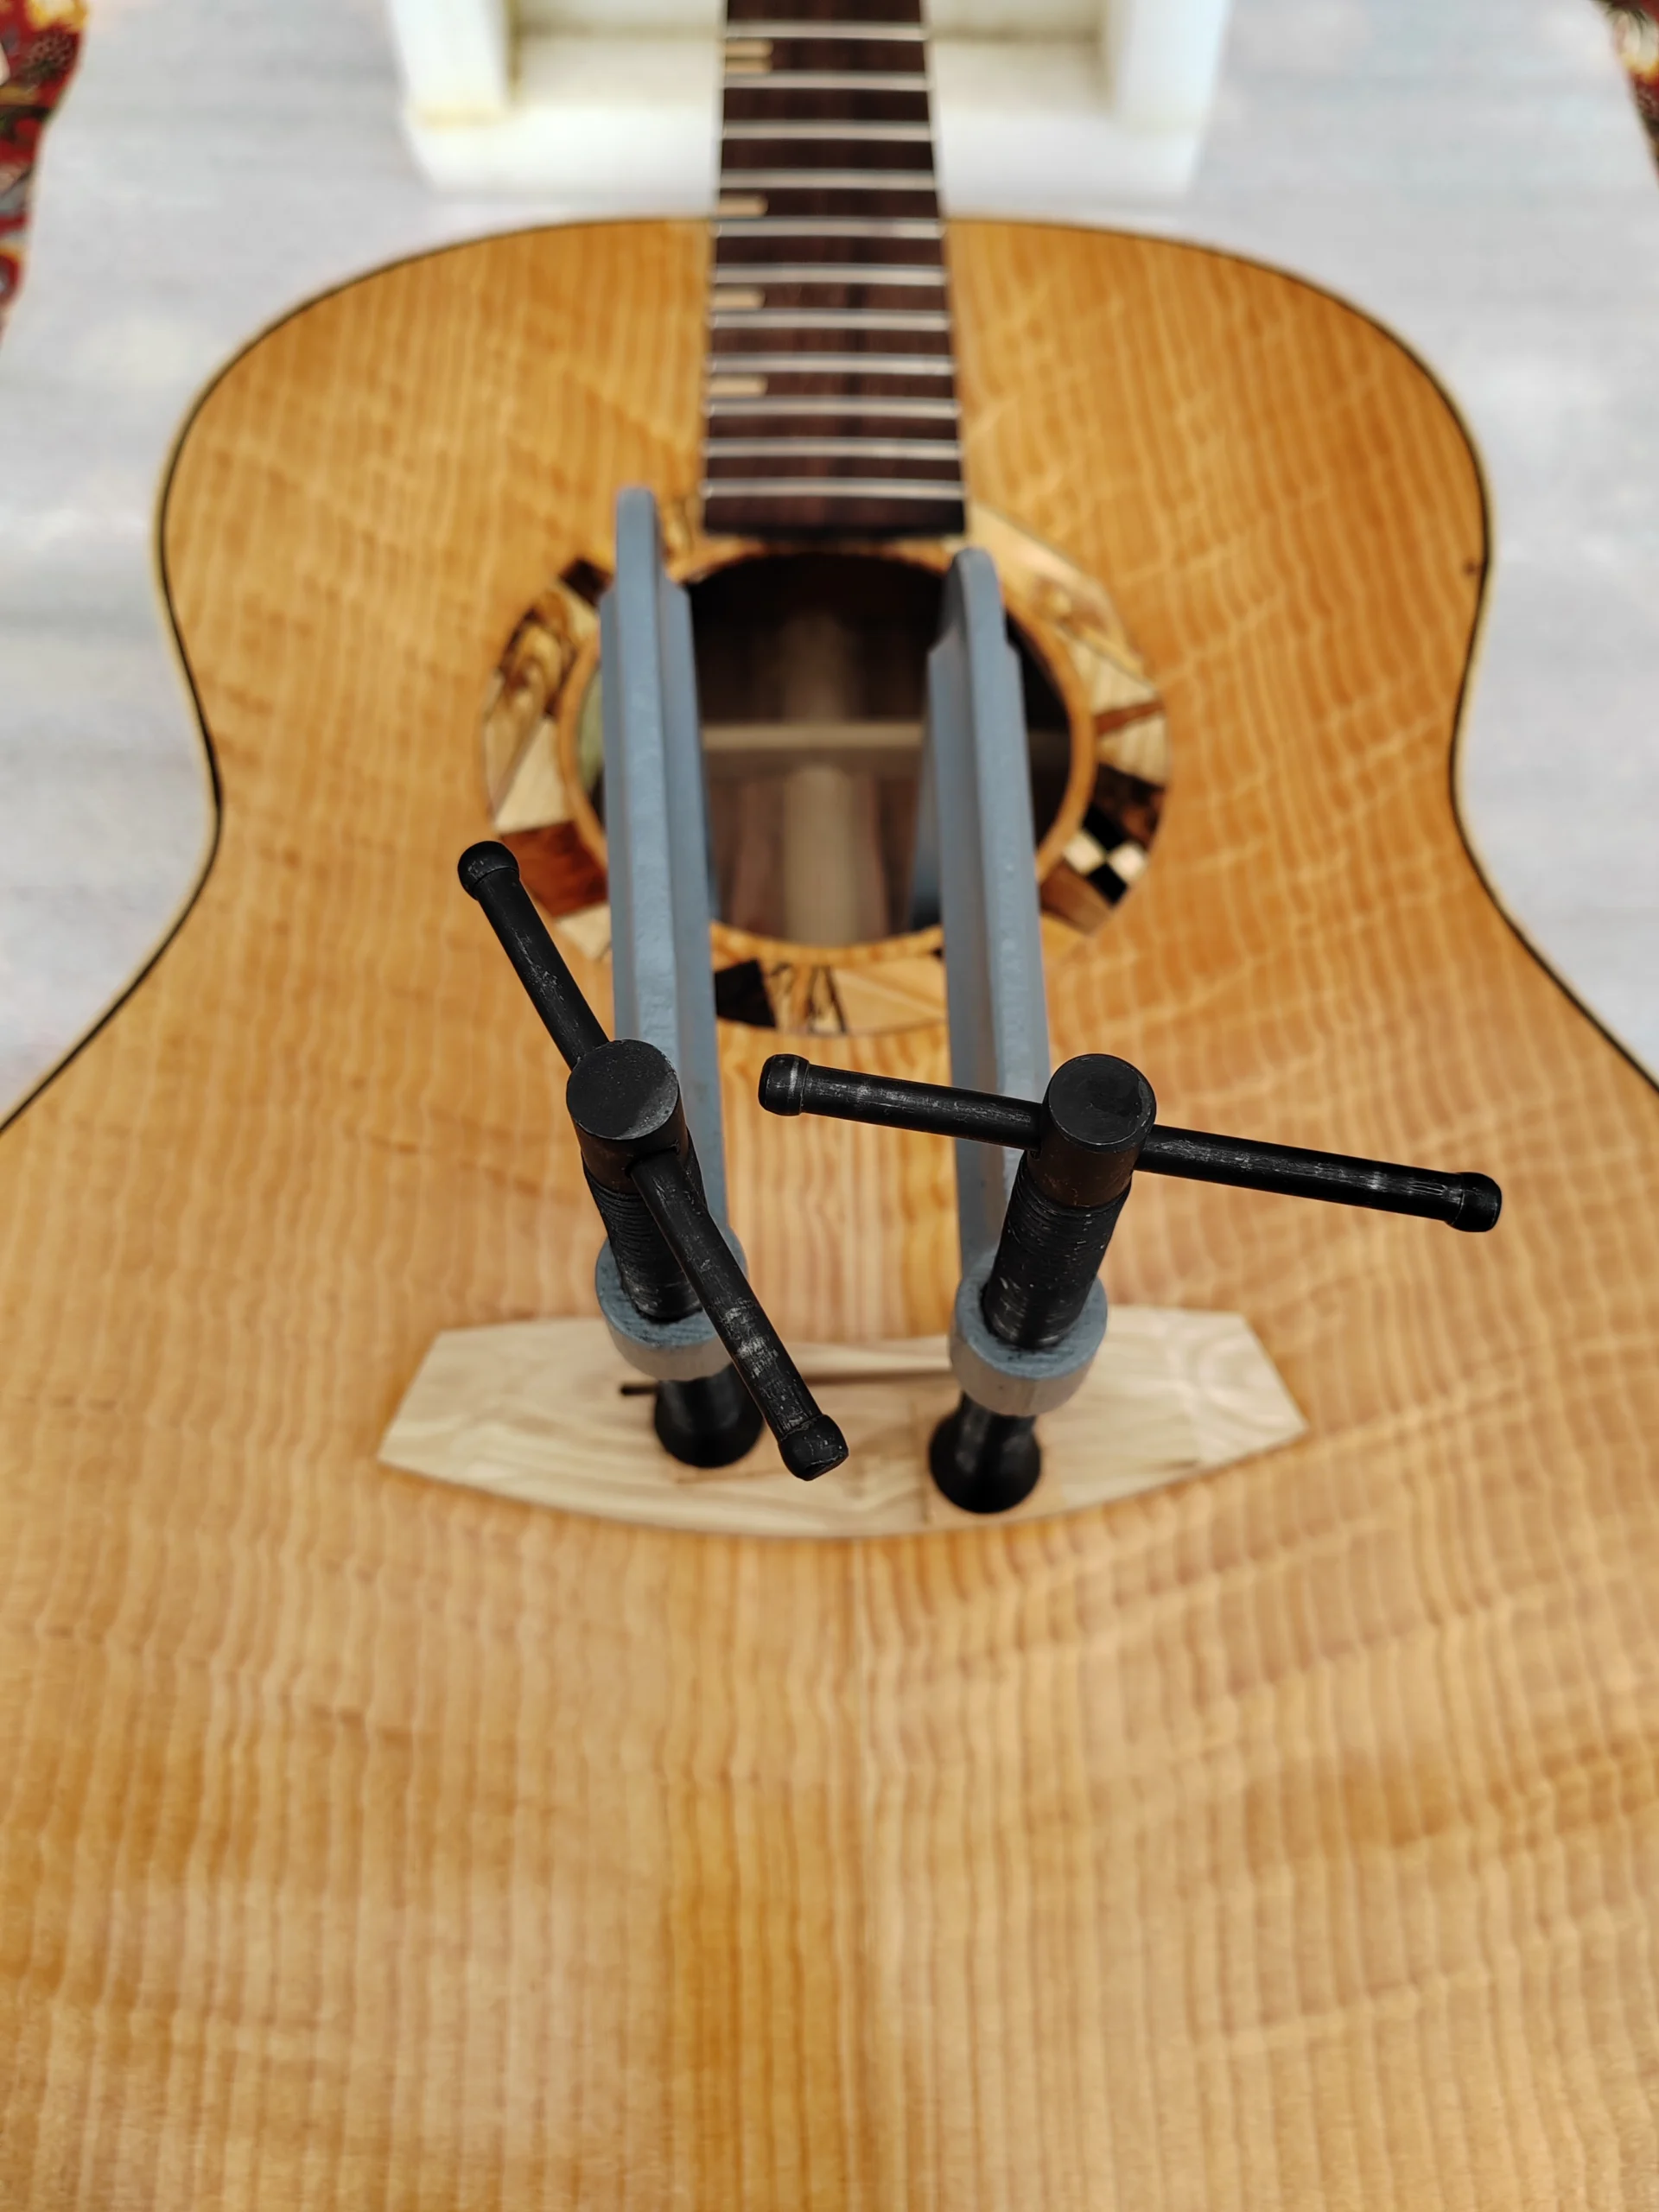
Finally, the last construction task: gluing on the bridge. The masking tape is removed, any build-up of Danish Oil round the outline is carefully sanded off and glue is applied to the base of the bridge. There are a few different ways to keep it in place while the glue dries (vacuum clamps are often used), but I’m happy using long-reach clamps because I can see what’s going on while I tighten them – glue, paradoxically, is like a lubricant before it sets, so making sure the bridge doesn’t slip out of position while it’s being clamped is a must. Once the joint has been left to dry for a couple of days, the bridge-pin holes can be reemed out to the correct taper.
All that’s left to do is to set-up the guitar (getting the string height right) and that’s it ready to be played.
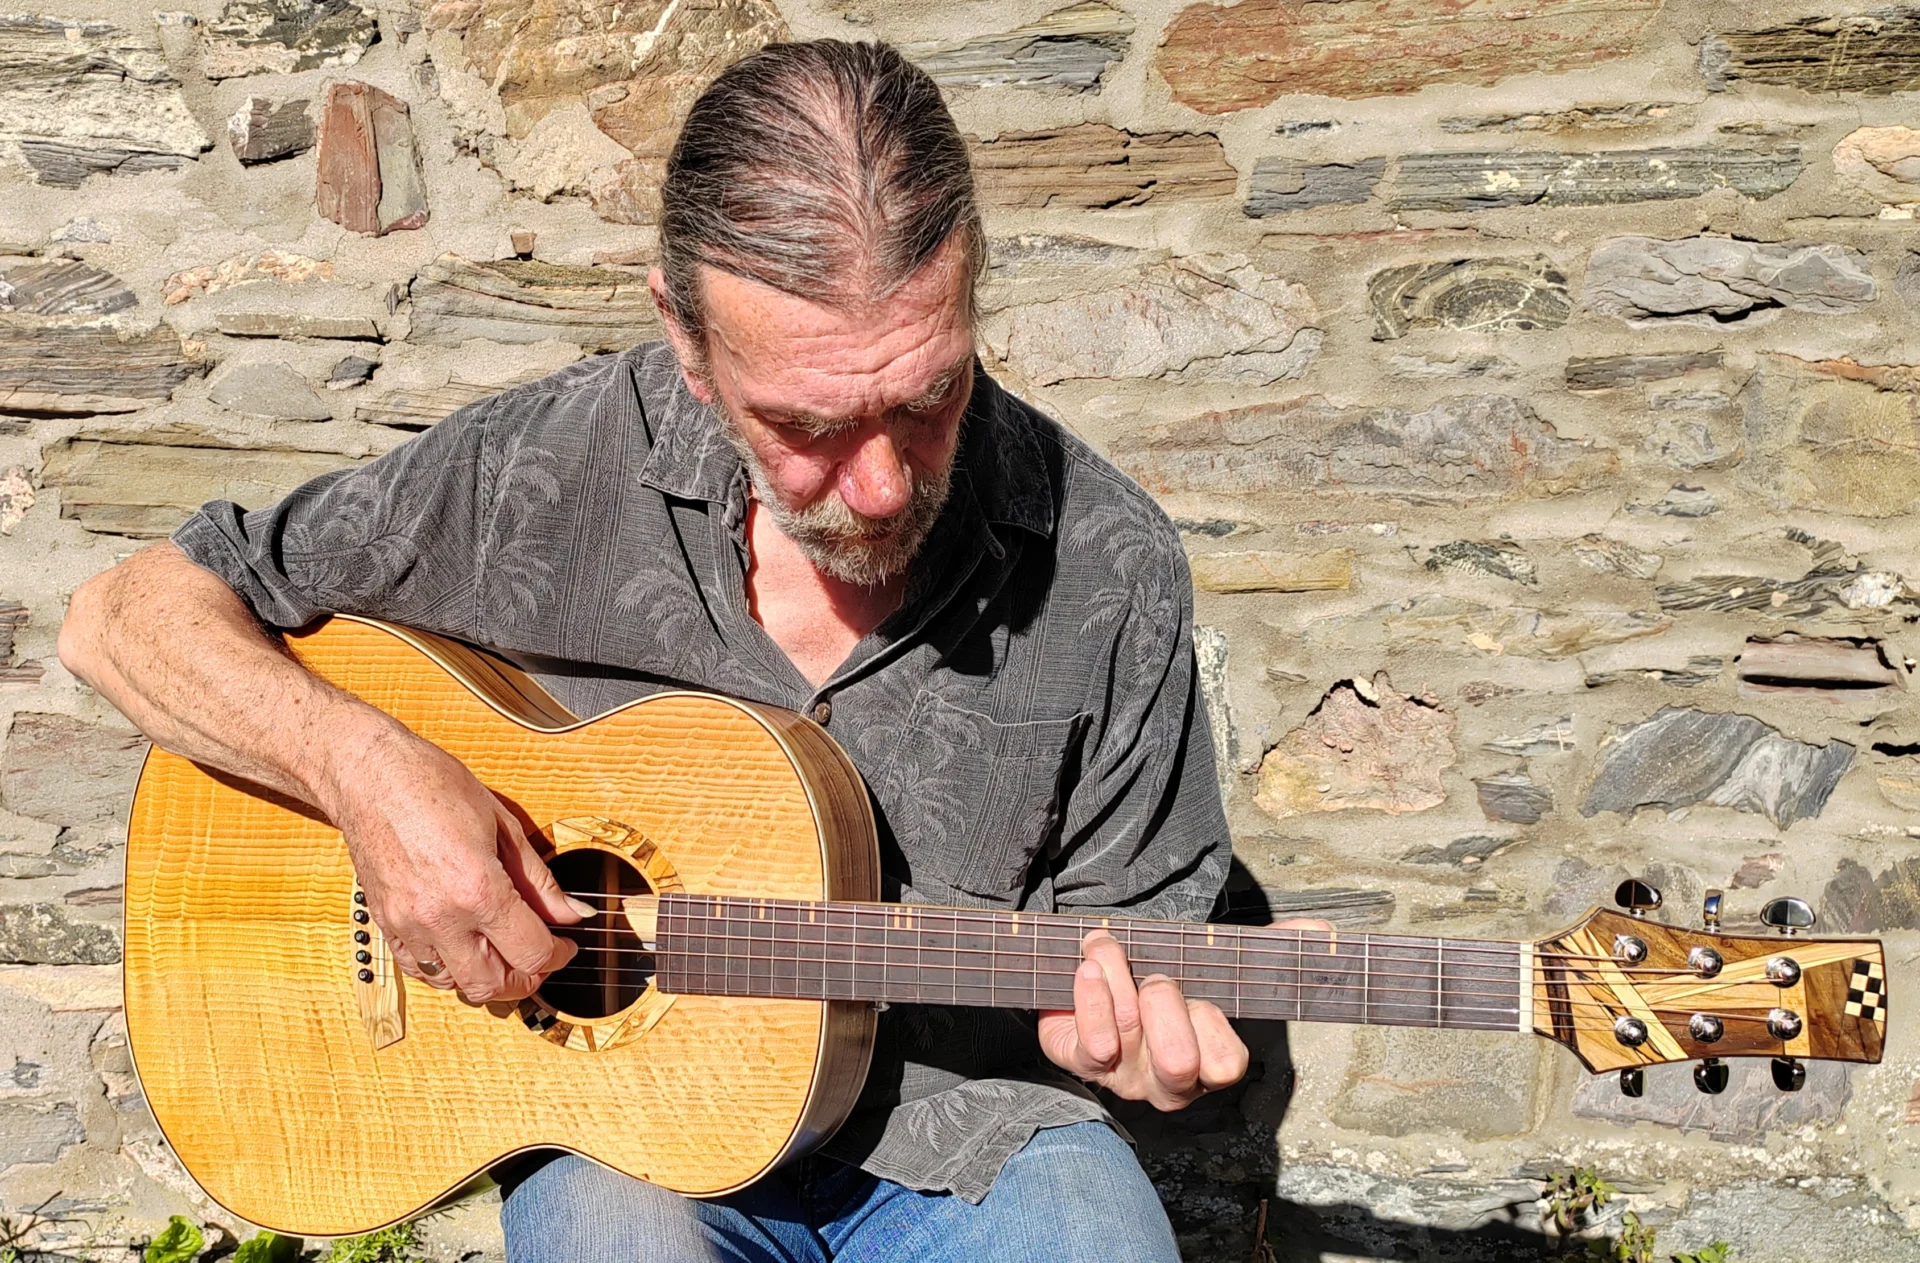
The question you might be asking yourself is, ‘what does it sound like’? Awesome (I know, I’m biased)! It has a sustain as long as a summer’s day; the trebles are mountain-burn crystal clear; and the harmonics ring like a newly cast bell… (again, I’m biased – and I’ve another life as a poet). You can decide for yourself if you come to the 16th Haal; I’ll be playing it at a couple of the concerts.
This is the last post on the guitar build. If you’ve been following the process from the beginning, many thanks for taking the time to read it (if you’ve just come across this post, all the others are on the Folk at the Salmon Bothy website); I hope you’ve found at least some of it interesting.
Stuart B Campbell
